One of the major drawbacks of having a convertible is that, if your vehicle features a soft roof, there are numerous terrible ways things can go wrong. A vandal might cut your roof, the roof mechanism could become stuck in the open position, the roof might shrink, or perhaps the plastic window breaks, letting the outside air in.My new-to-me 1998 MGFI had that final issue, and the old plastic window shattered, allowing water to enter. Here’s how I resolved it using just hand tools, some time, and an unexpected absence of frustration.
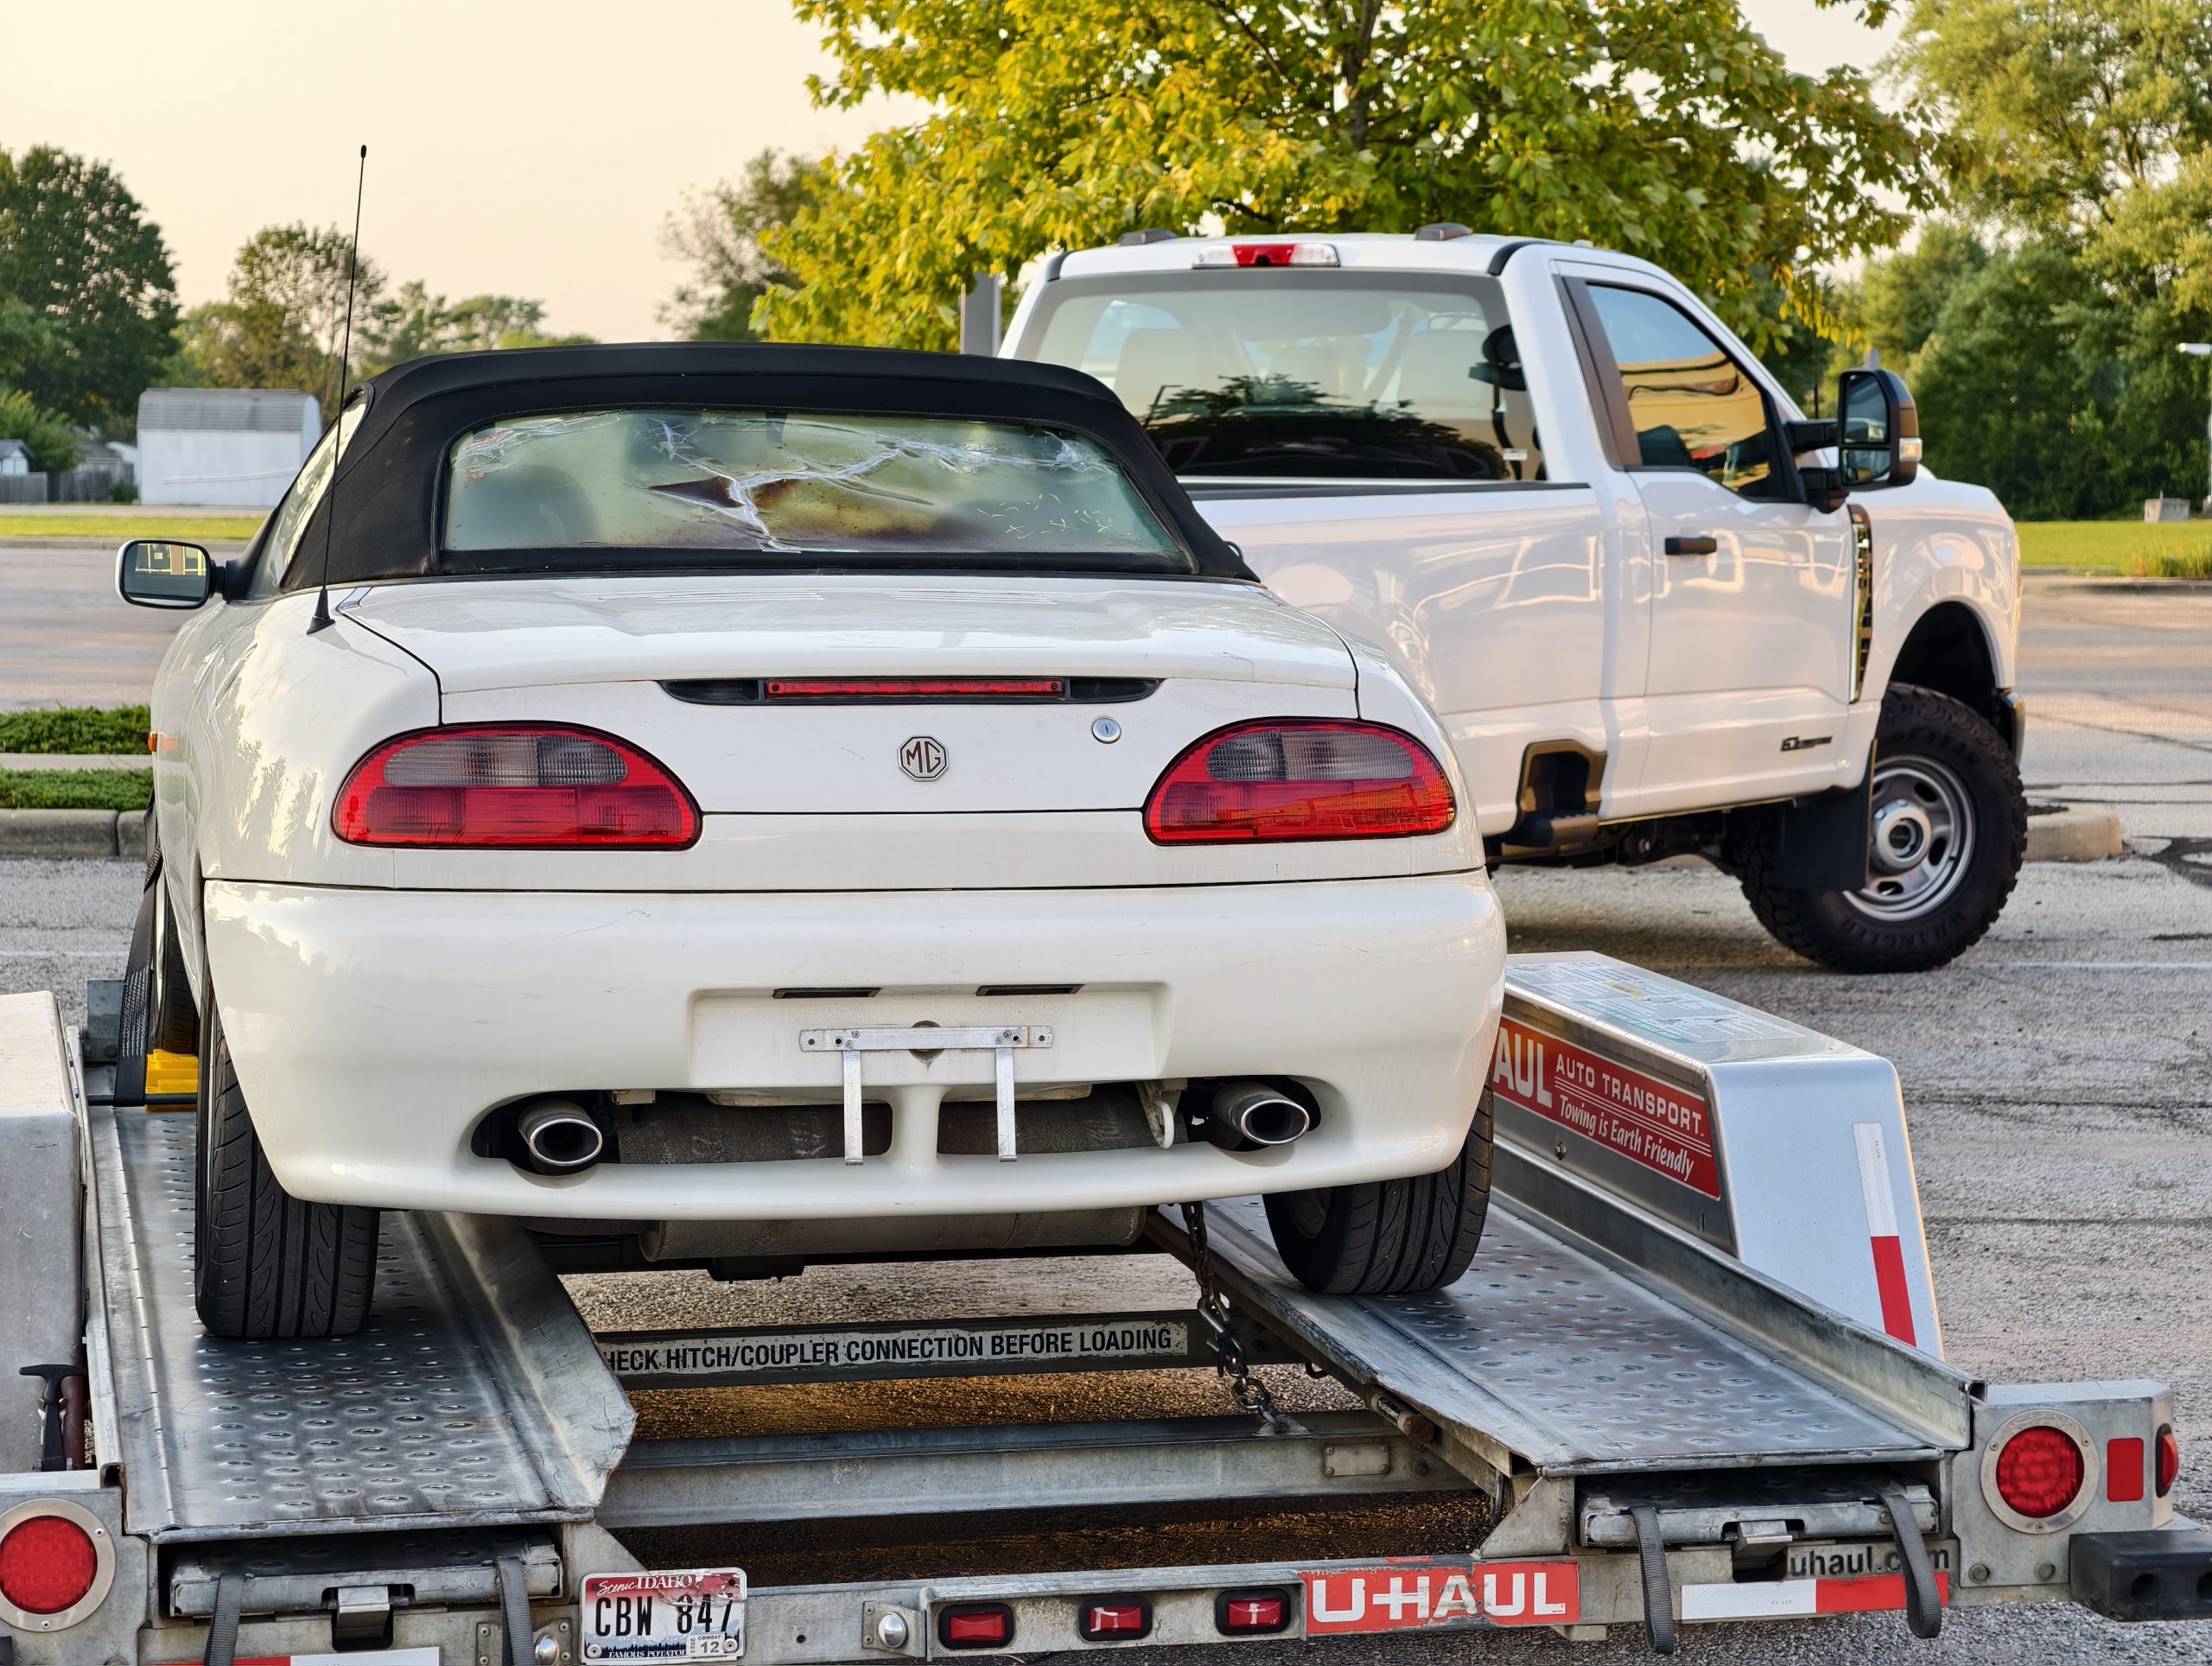
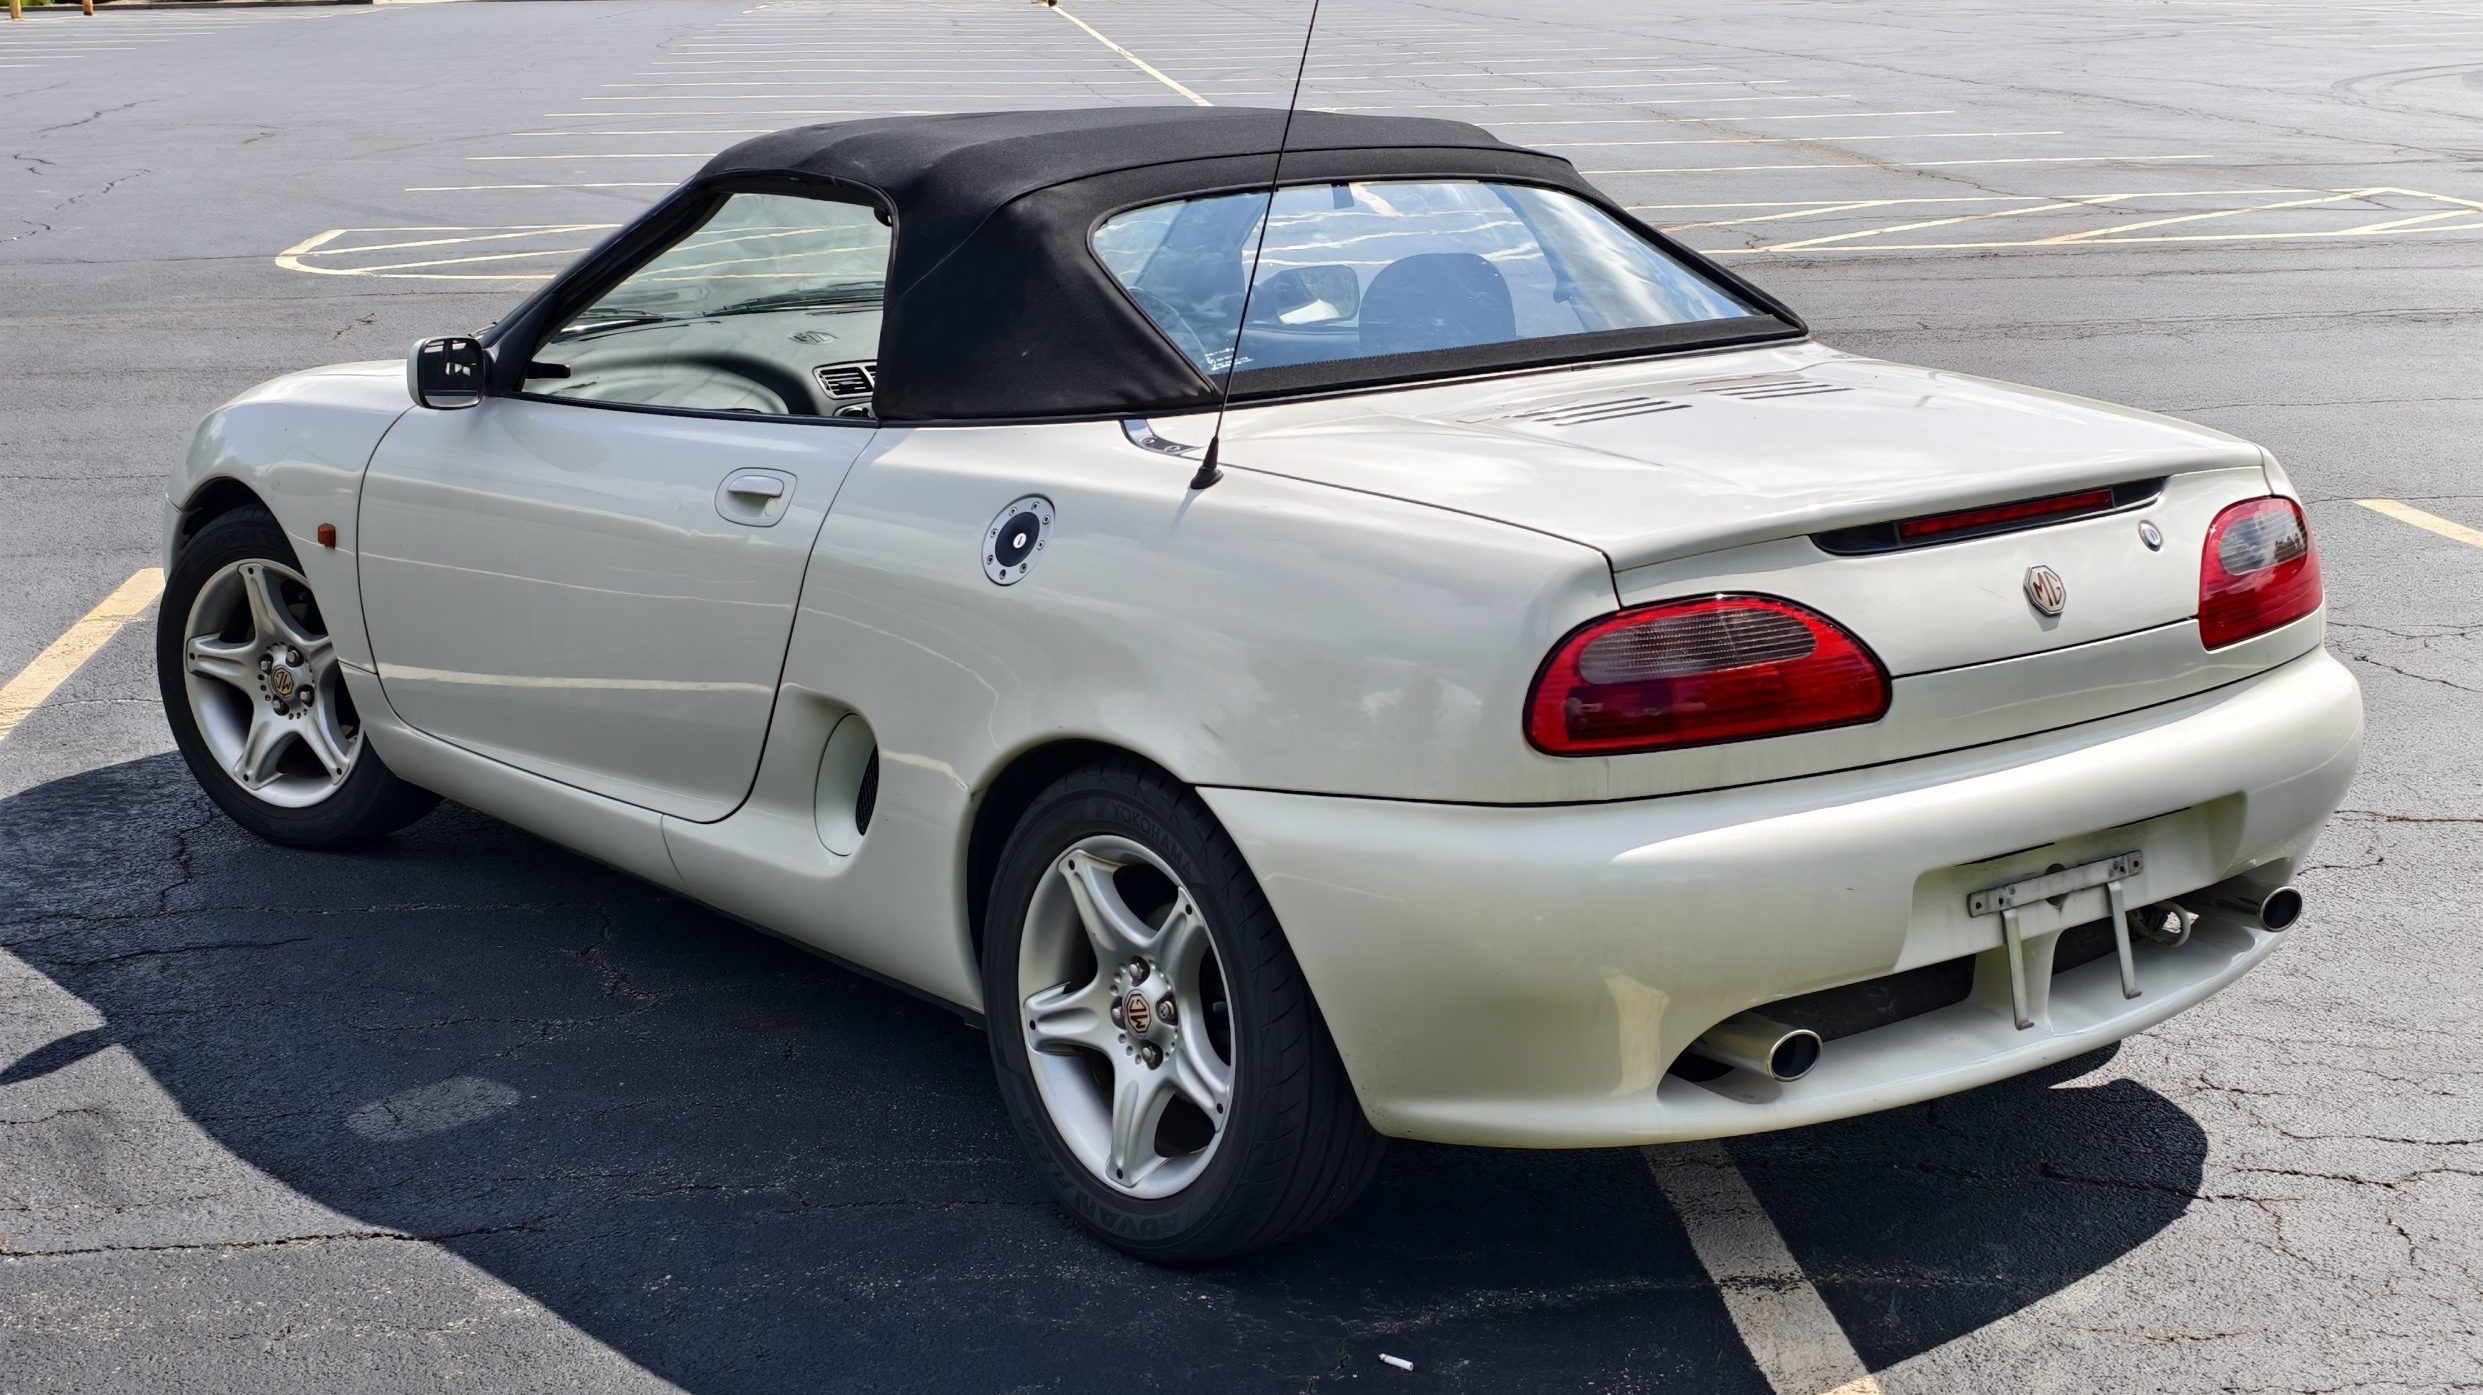
This month, I took home the 1998 MGF.that I purchased back in June. I have always wanted an MGF since I first learned about them years ago, but unfortunately, the timing was never right. That finally changed this year when I found an MGF in excellent condition being sold in Japan for approximately $2,000 plus shipping, fees, and import charges. This vehicle was the most affordable MGF I had come across recently that was functional and drivable without significant cosmetic or suspension problems. Most of the other MGFs I’ve seen for sale in Japan were priced twice as much or more.
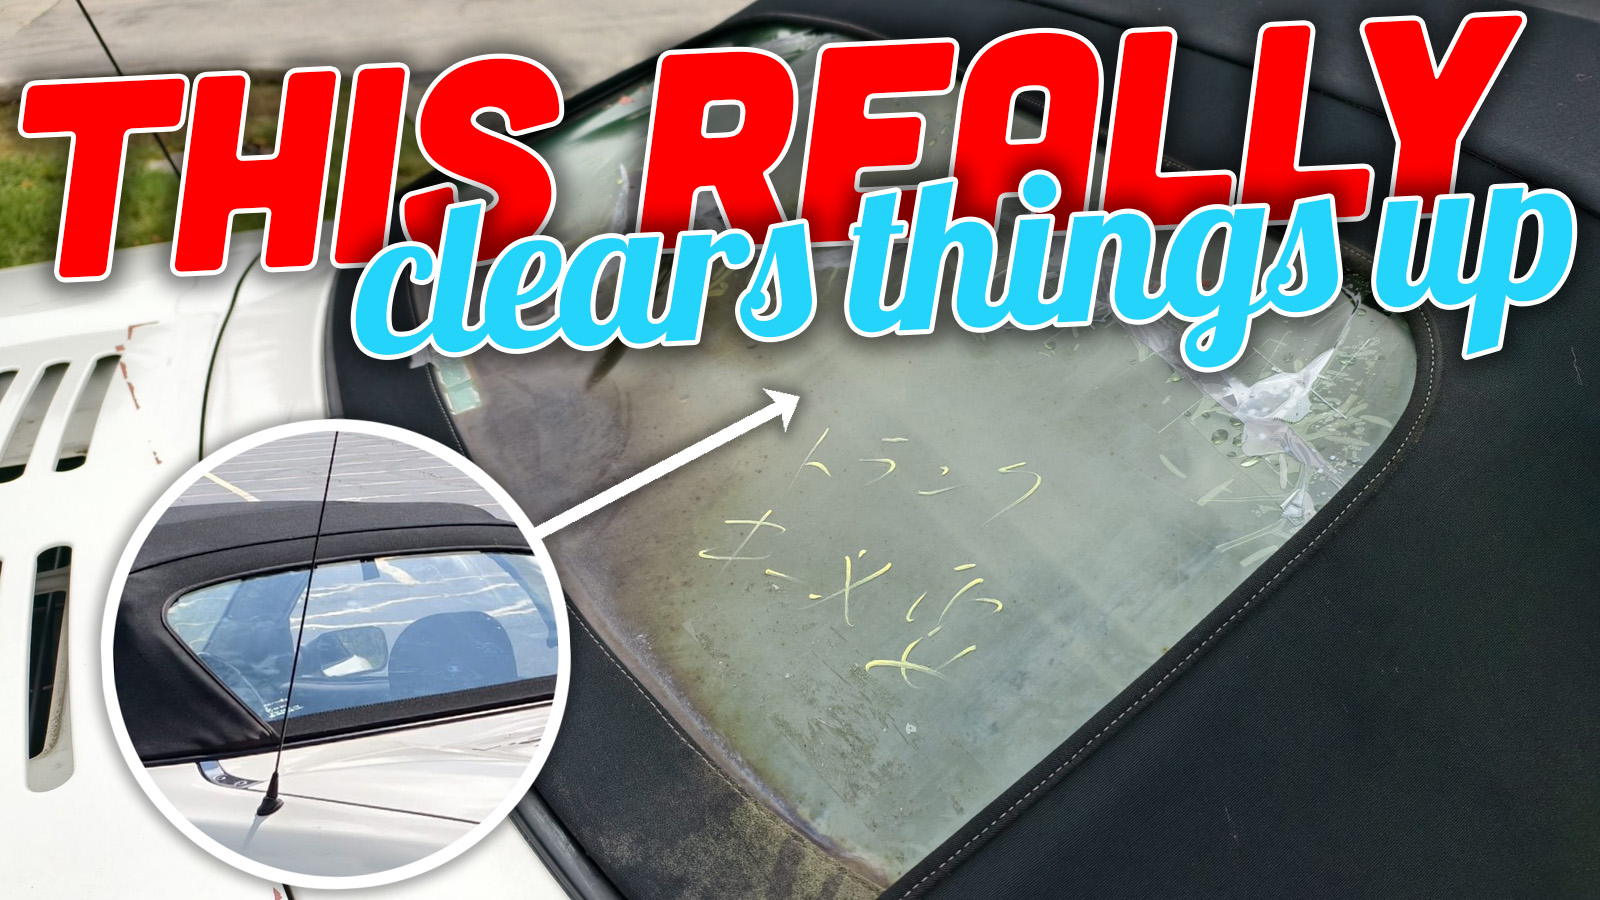
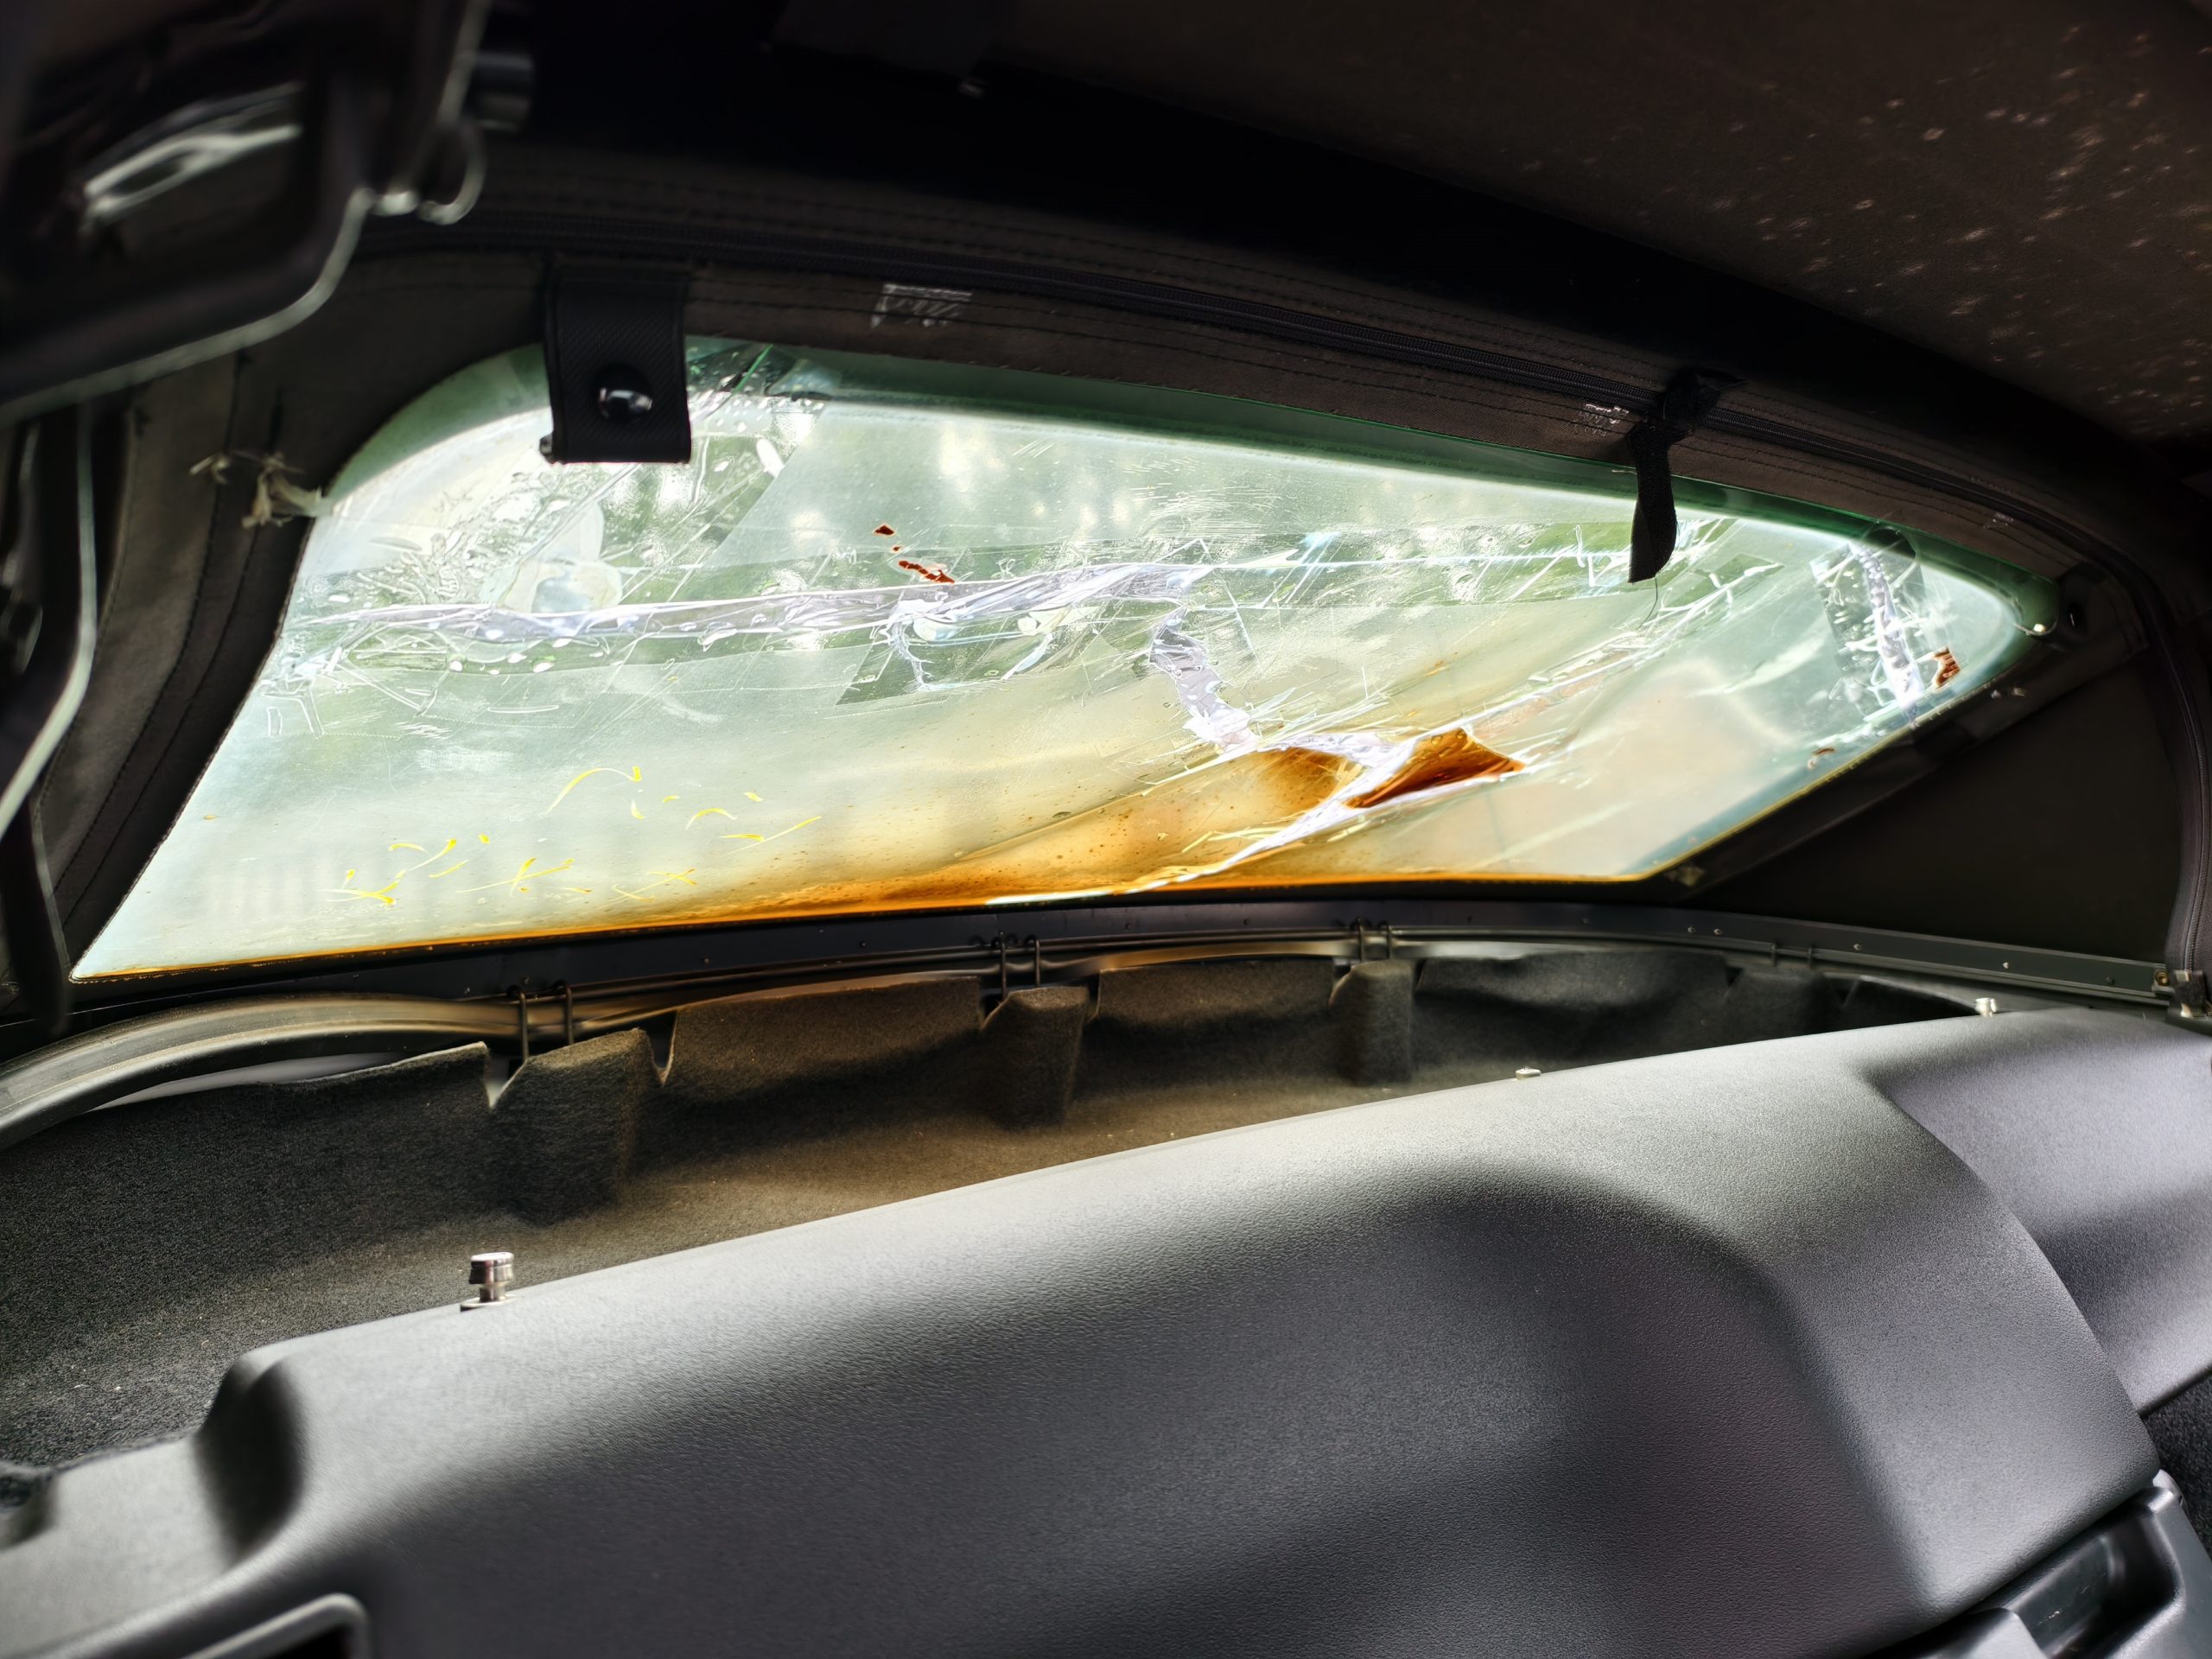
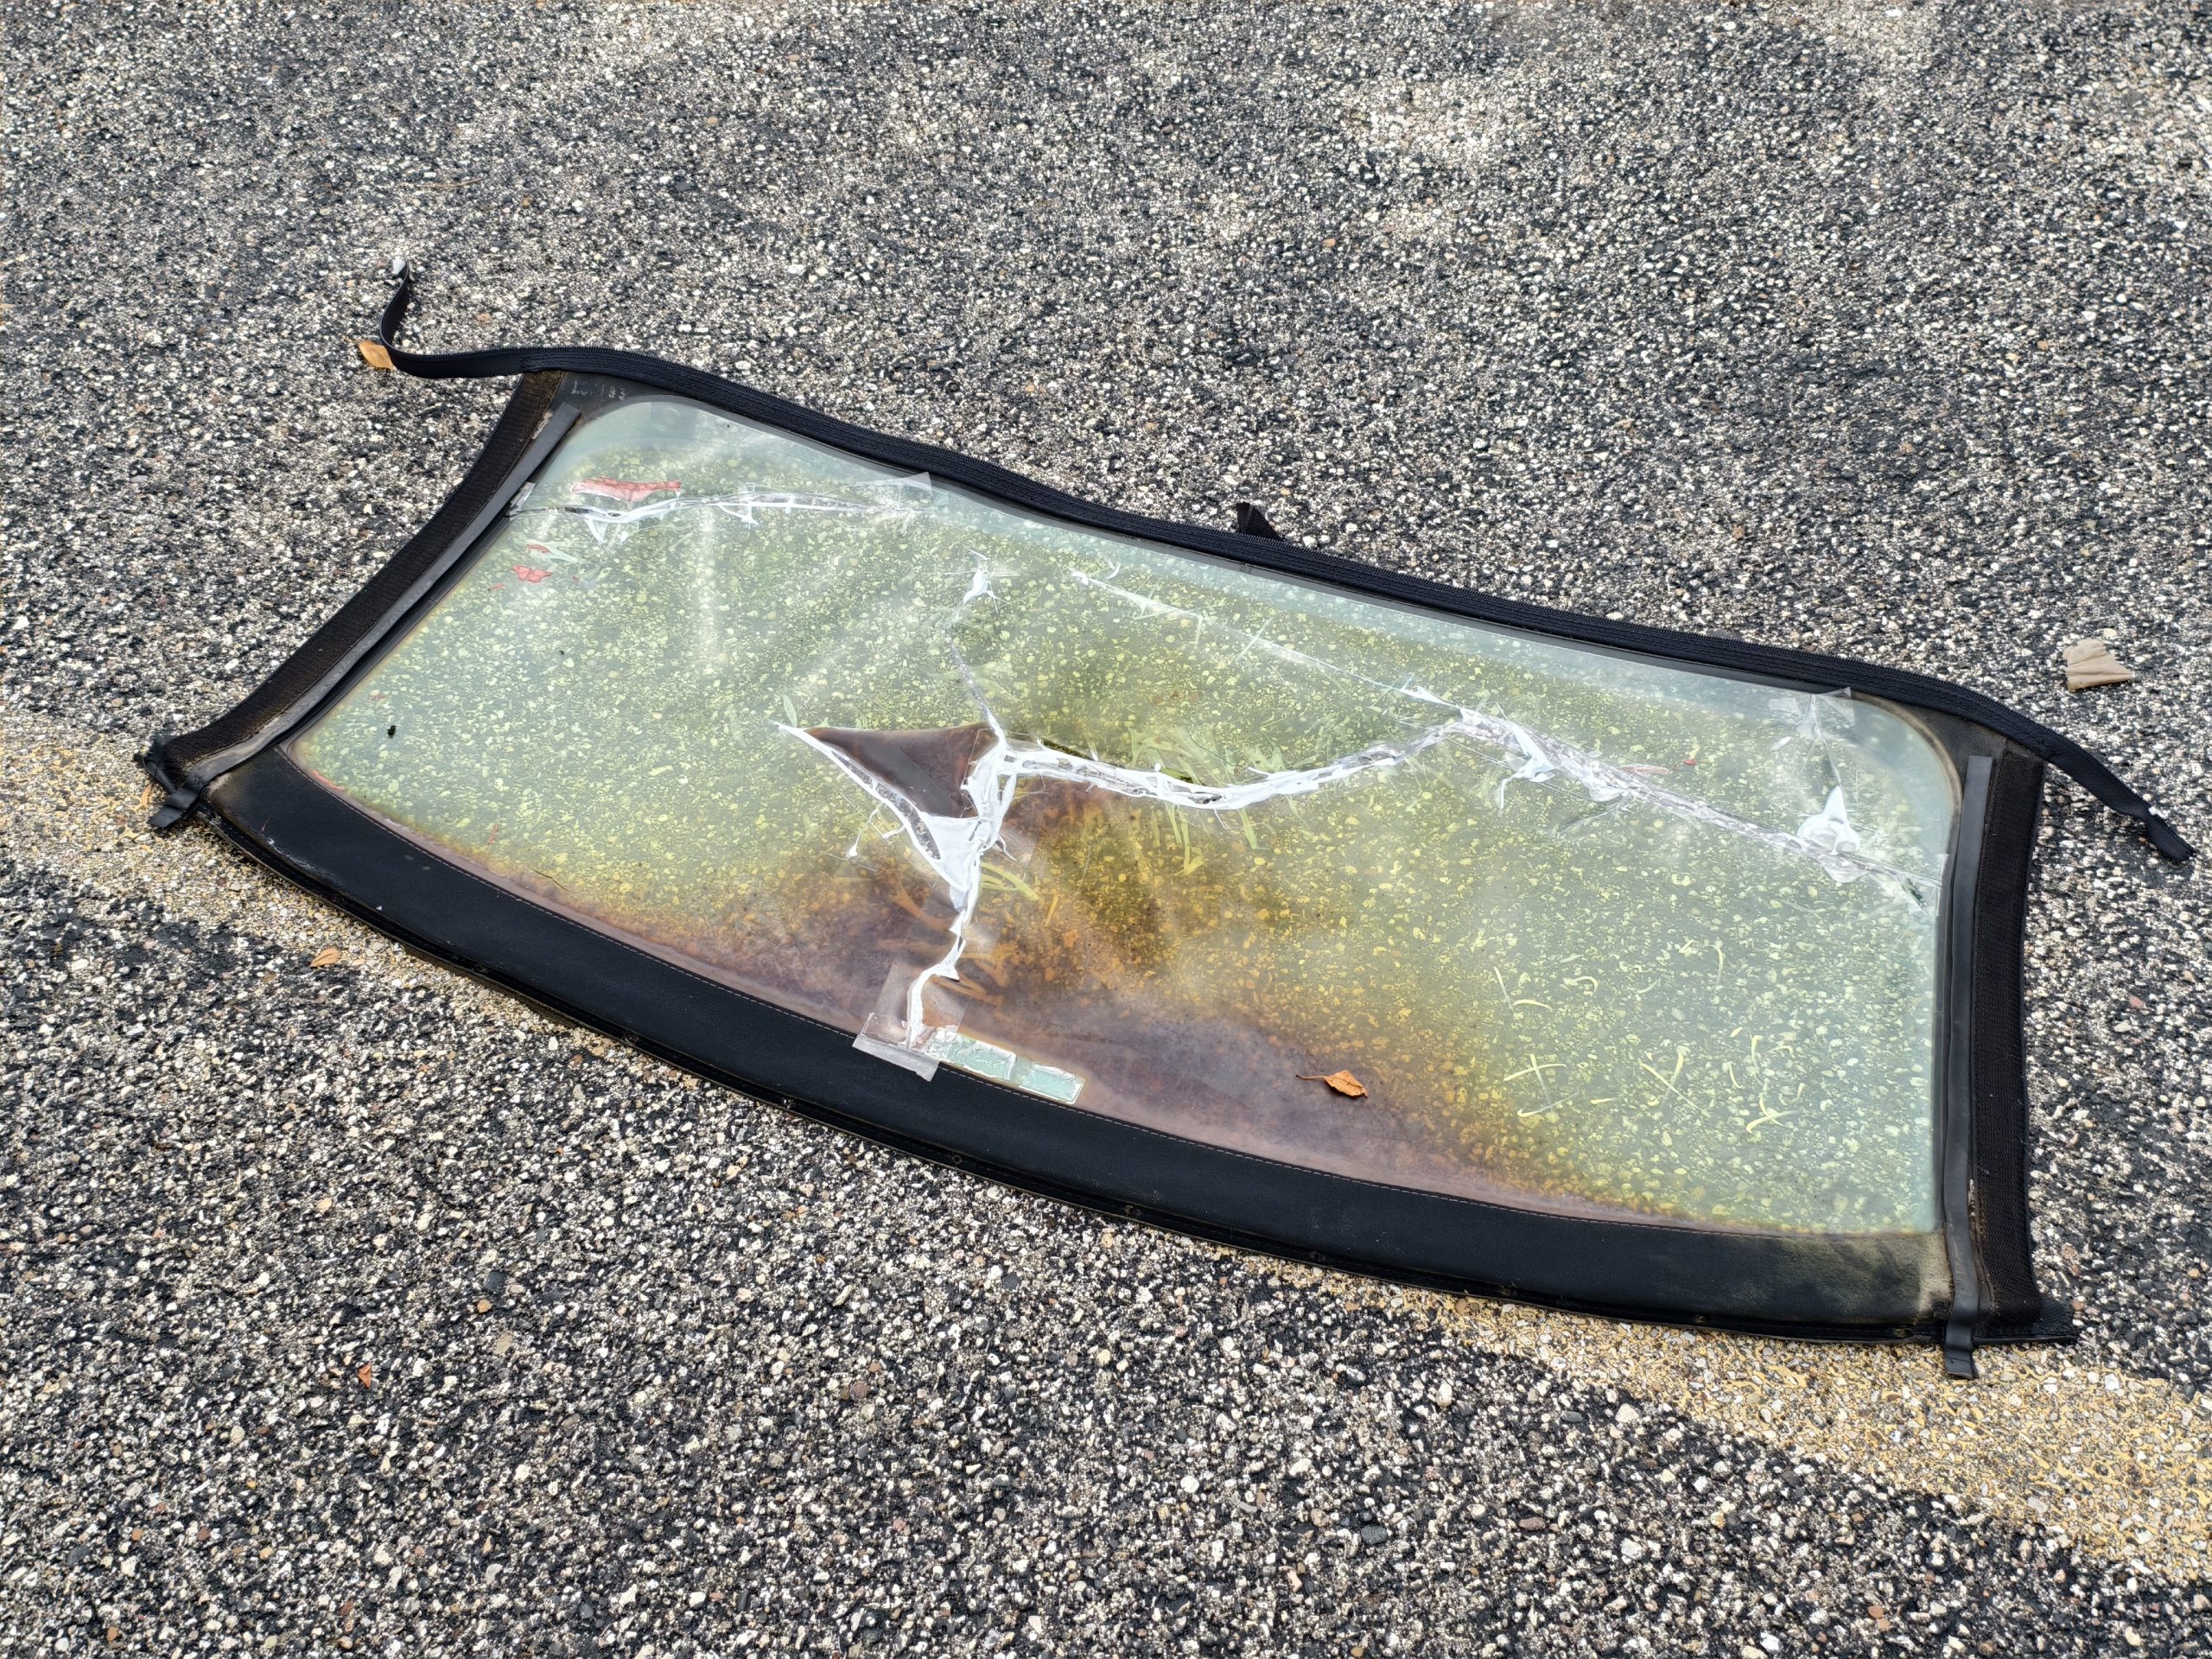
That could make you wonder why my car was so inexpensive. I had the same thought. As I looked through the pictures onBe Forward(an online marketplace for exporting Japanese cars), nothing was clear. However, I then noticed the problem hidden deep within. At some point, the rear plastic window had cracked and shattered. It’s unknown how long this car was left in a yard with rain seeping in. I even discovered signs of mold, althoughI’ve fixed that before. However, the photos appeared good and the inspection sheets did not highlight any major concerns, so I took the risk.
Everything That’s Wrong With My MGF
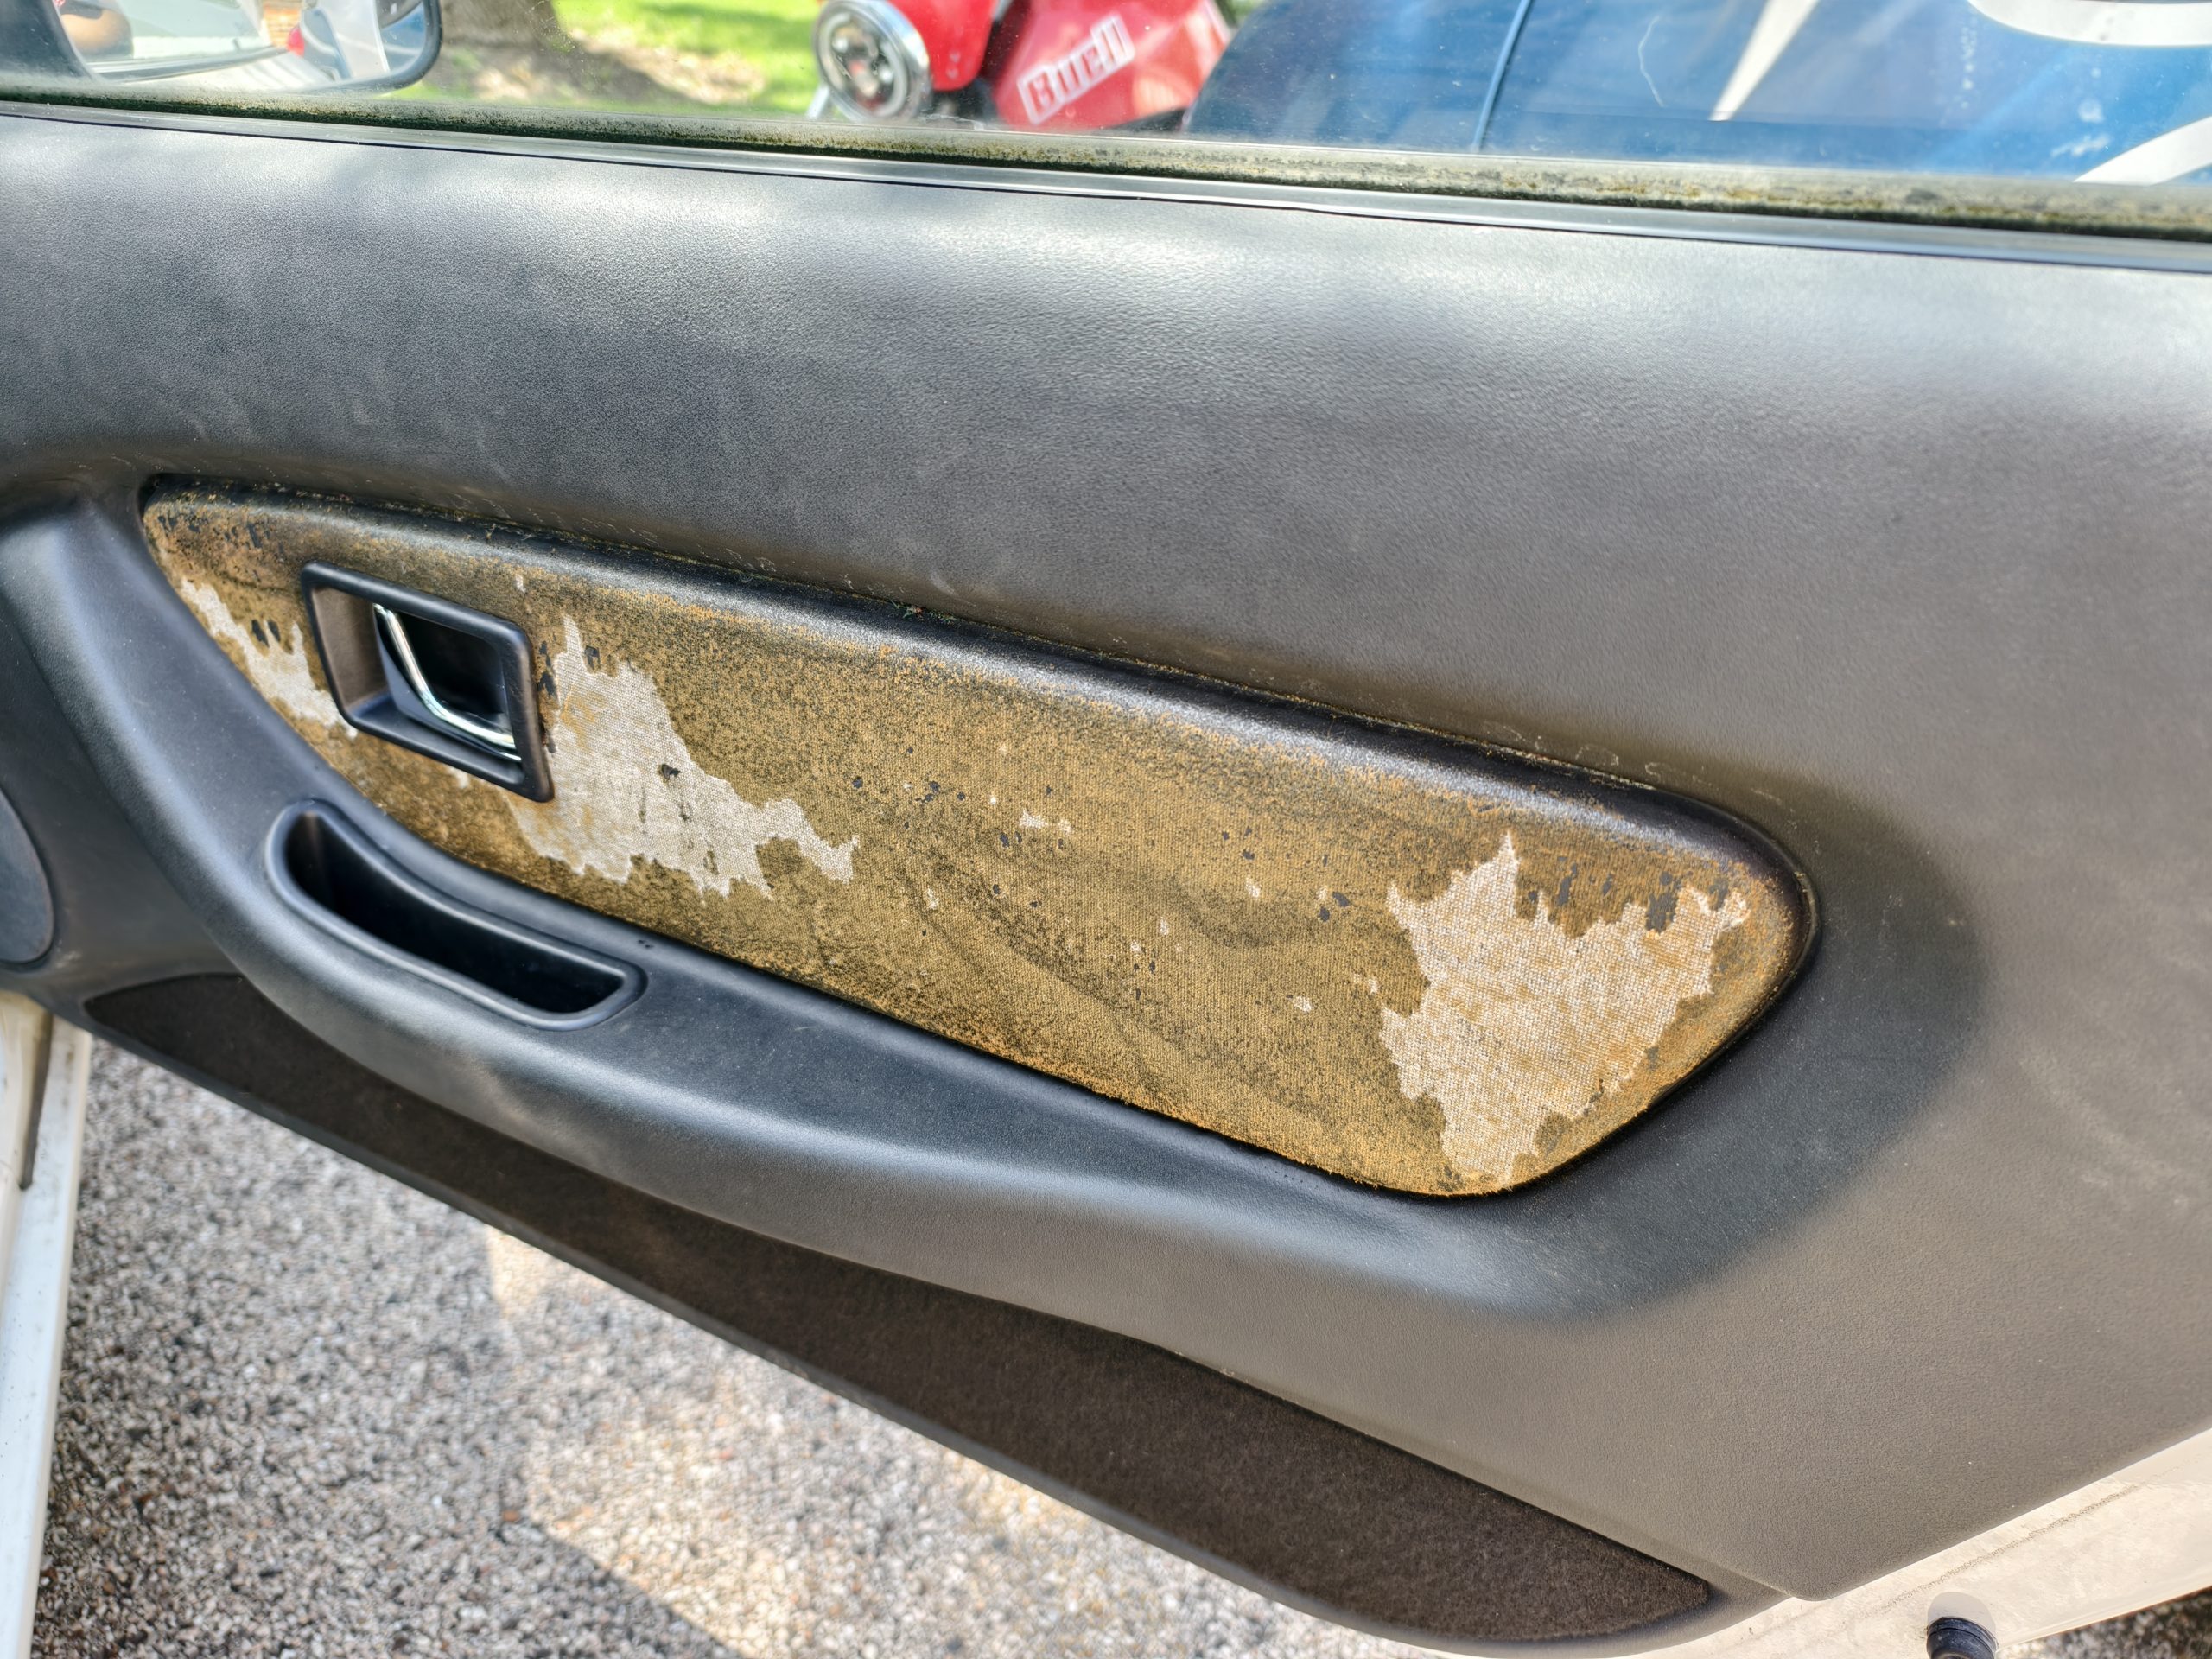
As I mentioned recently, I’m happily surprised by the car’s excellent condition. My MGF has absolutely no mechanical issues, no rust, good paint, and a mostly solid interior. Honestly, I only found two issues inside the car. One is that the HVAC vents are a bit loose at the bottom. The other problem is that the door card fabric has come off.
From what I can tell, the fabric peeling off the door is a typical issue with MGFs, and you can either reattach the fabric using glue or substitute it with a custom-cut piece of leather. The solution is very simple! The seller of my MGF even provided me with the door card fabric, so I don’t need to look for the part myself.
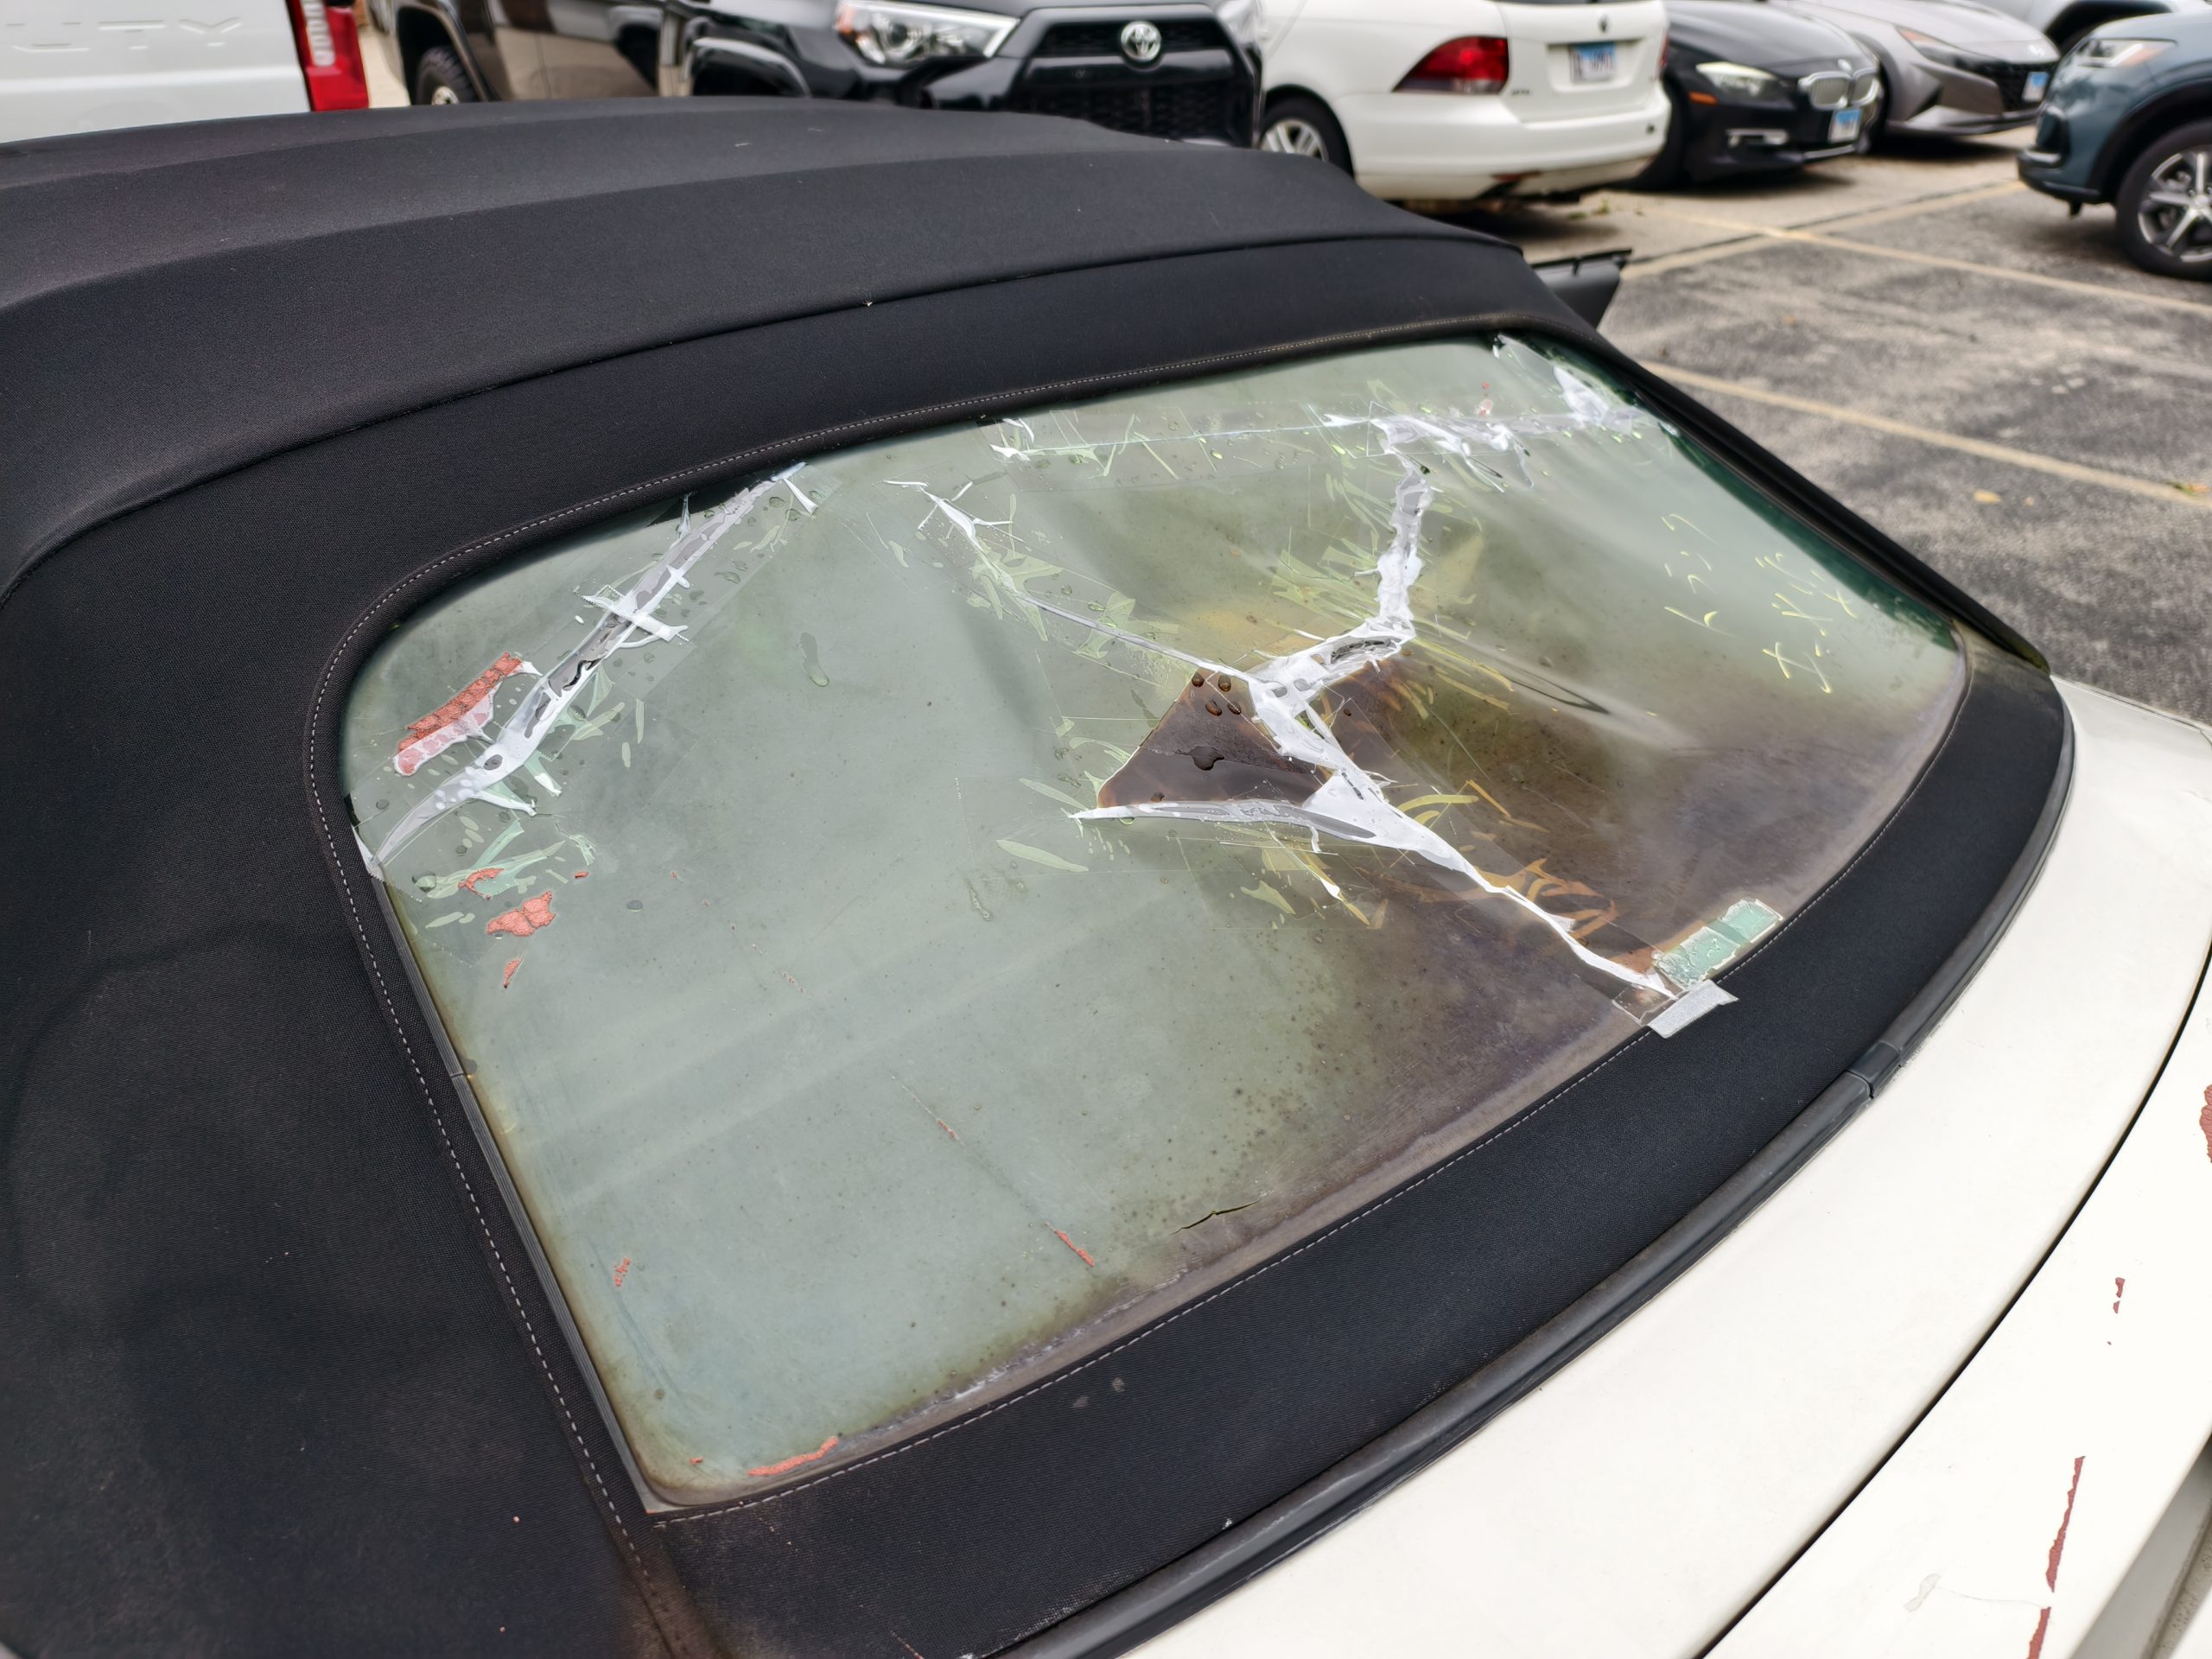
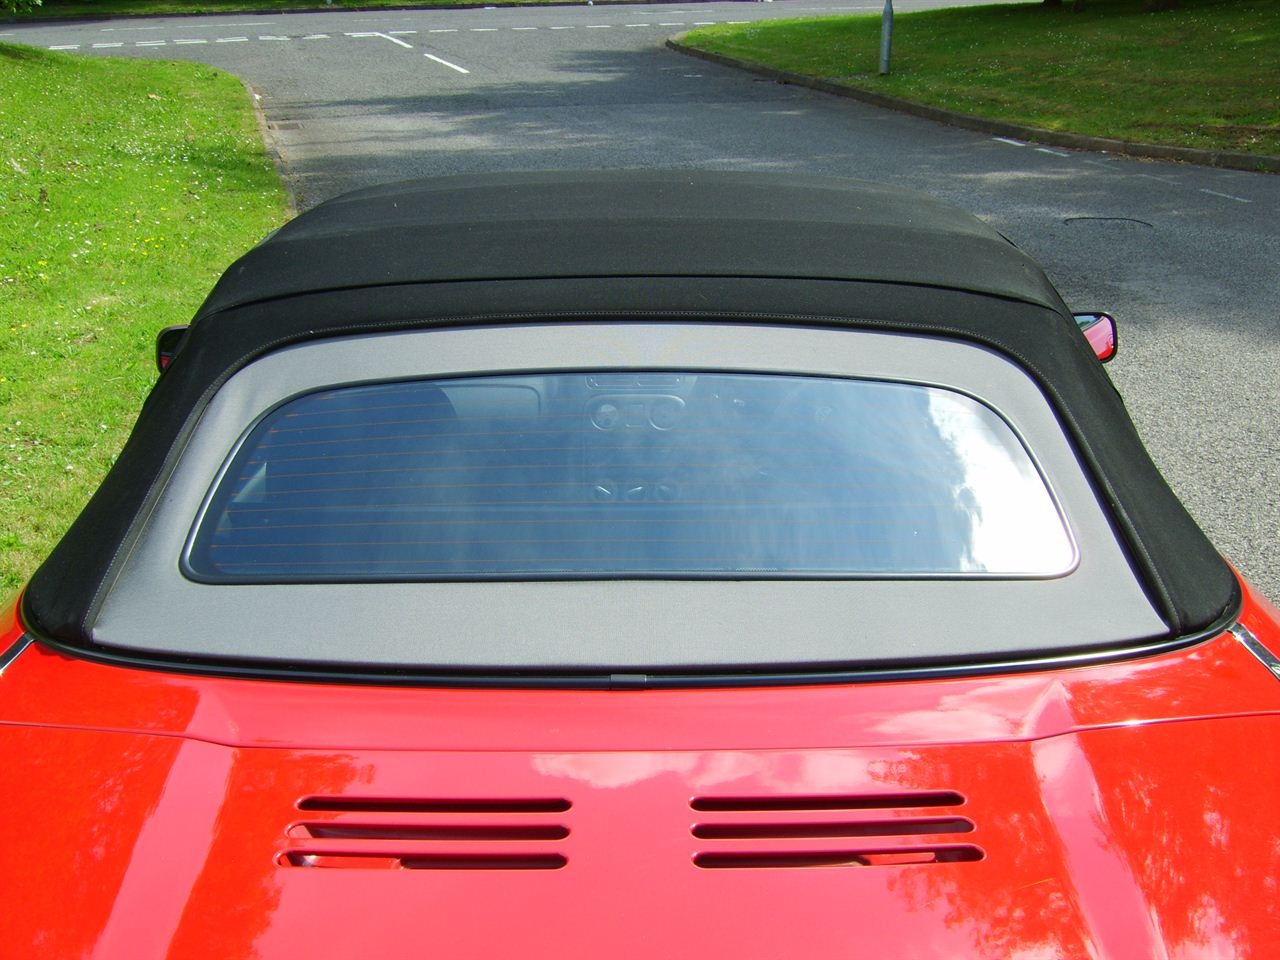
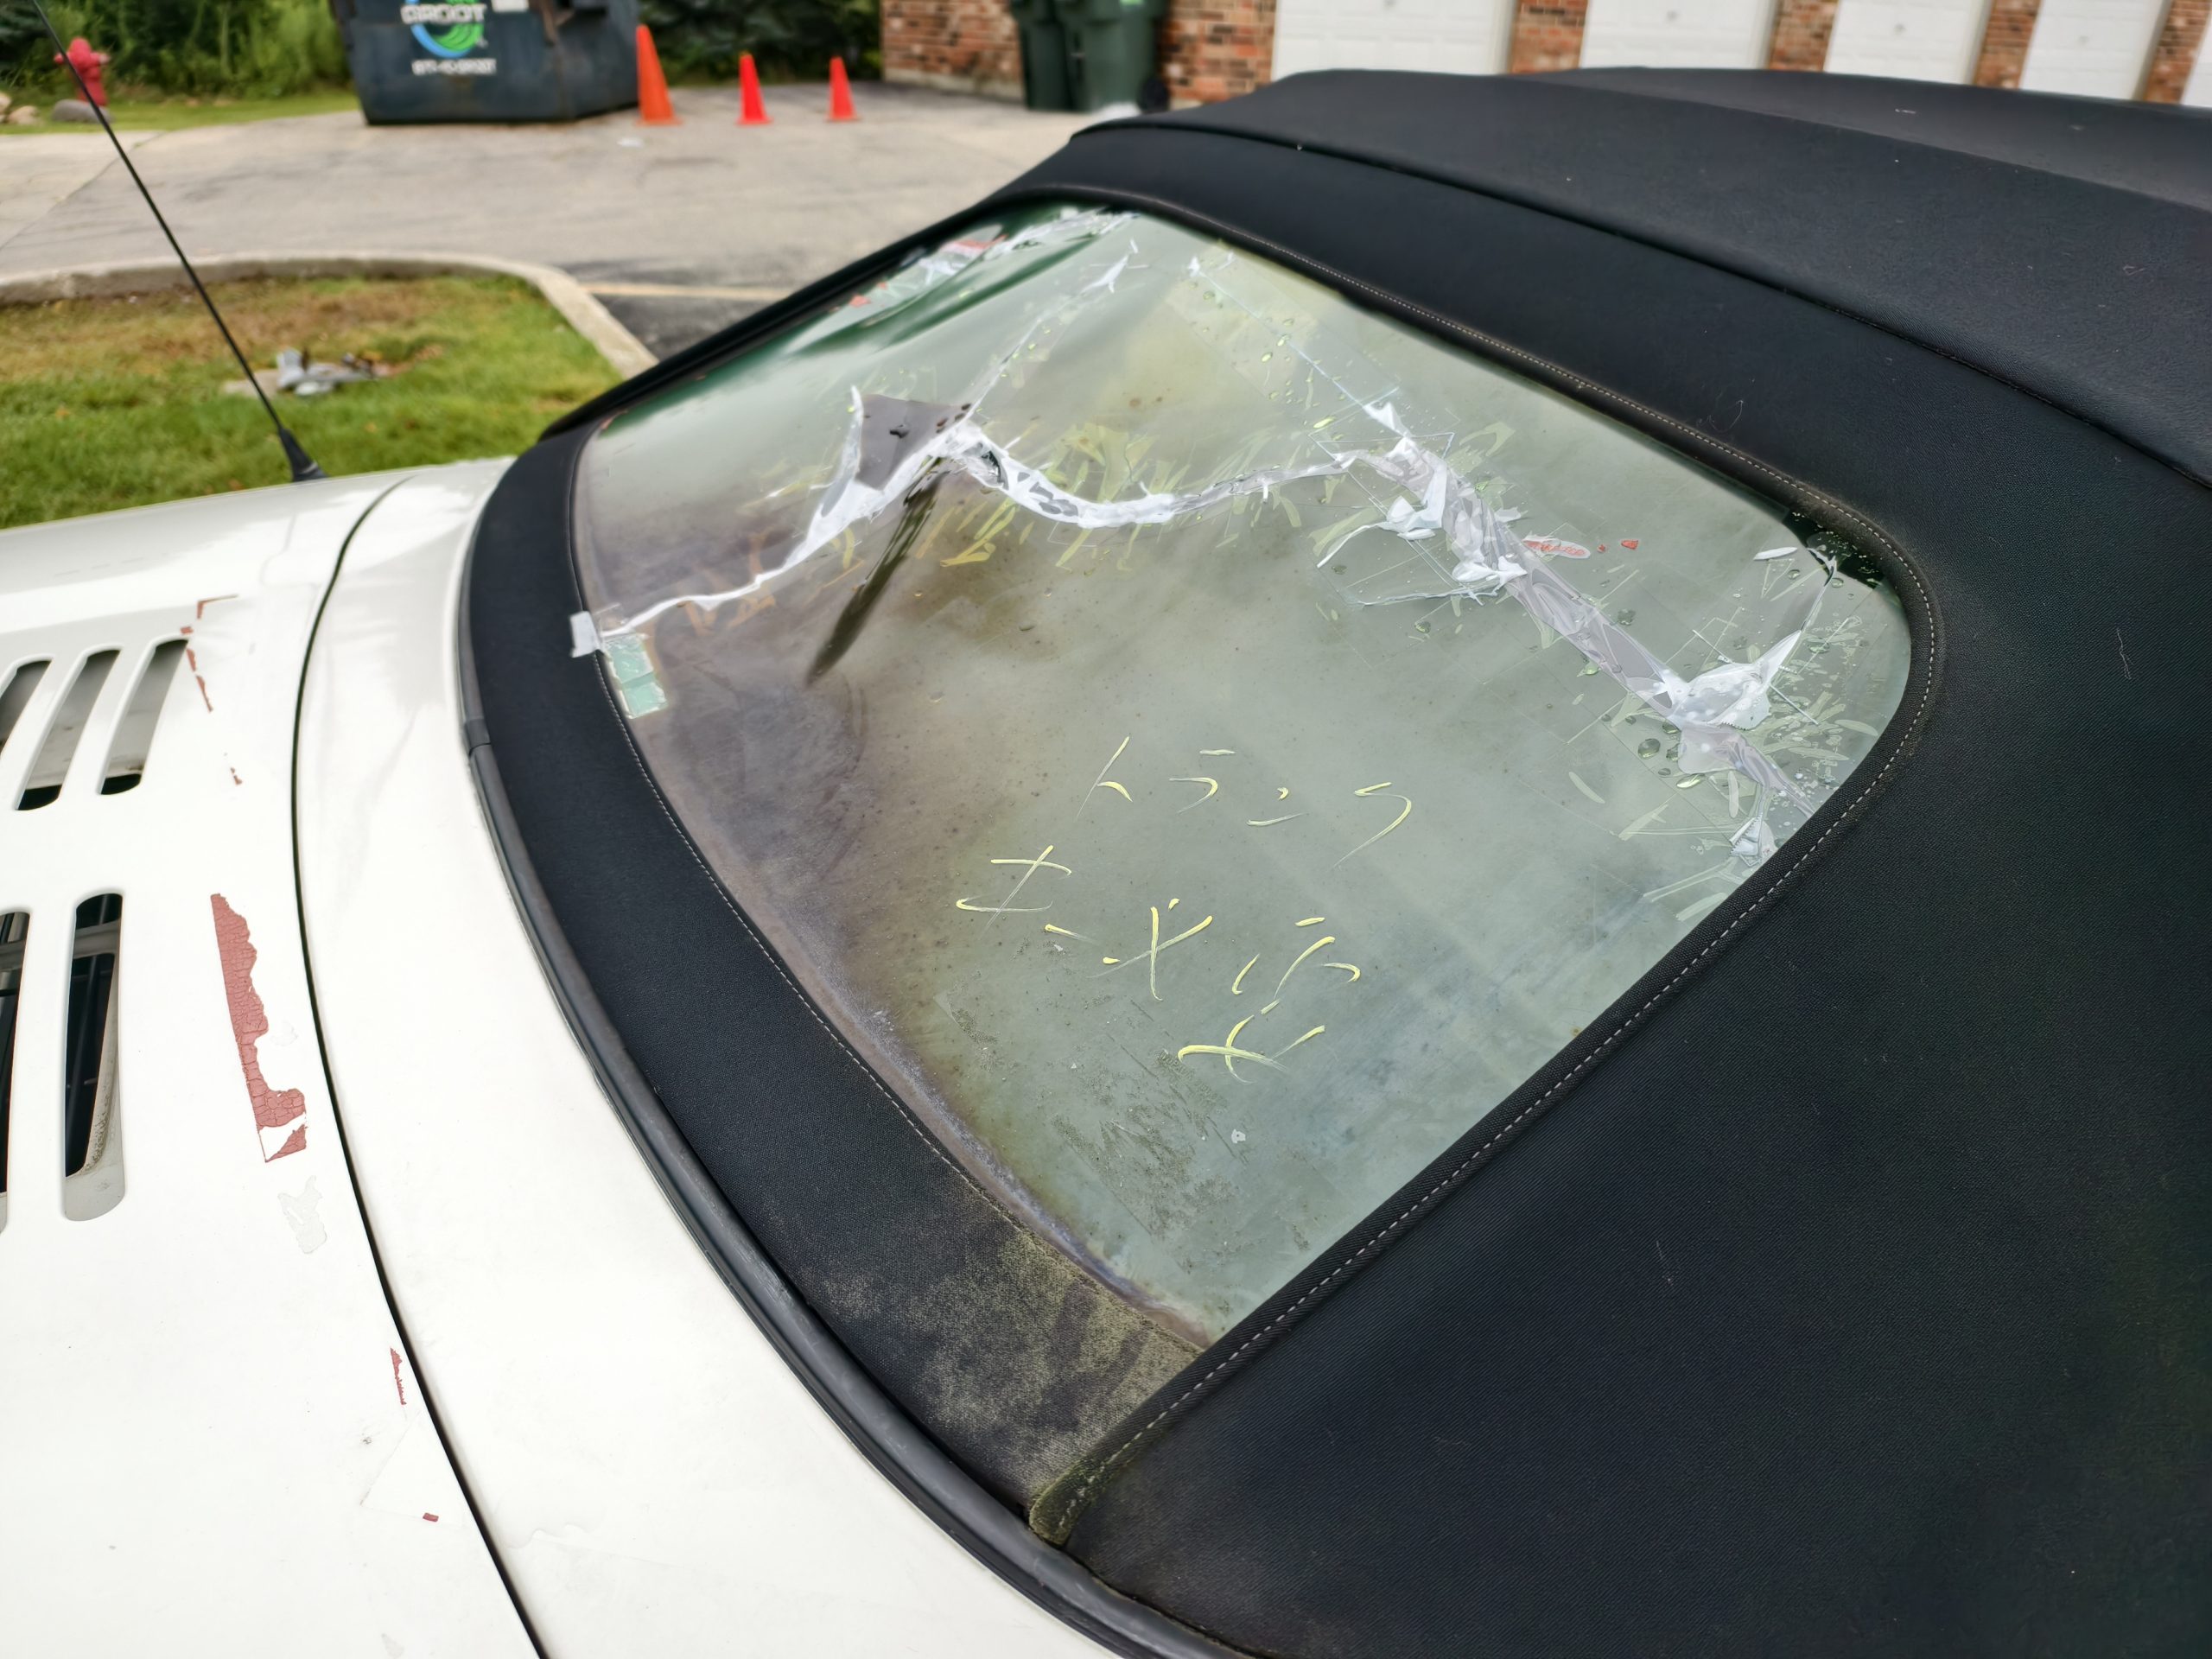
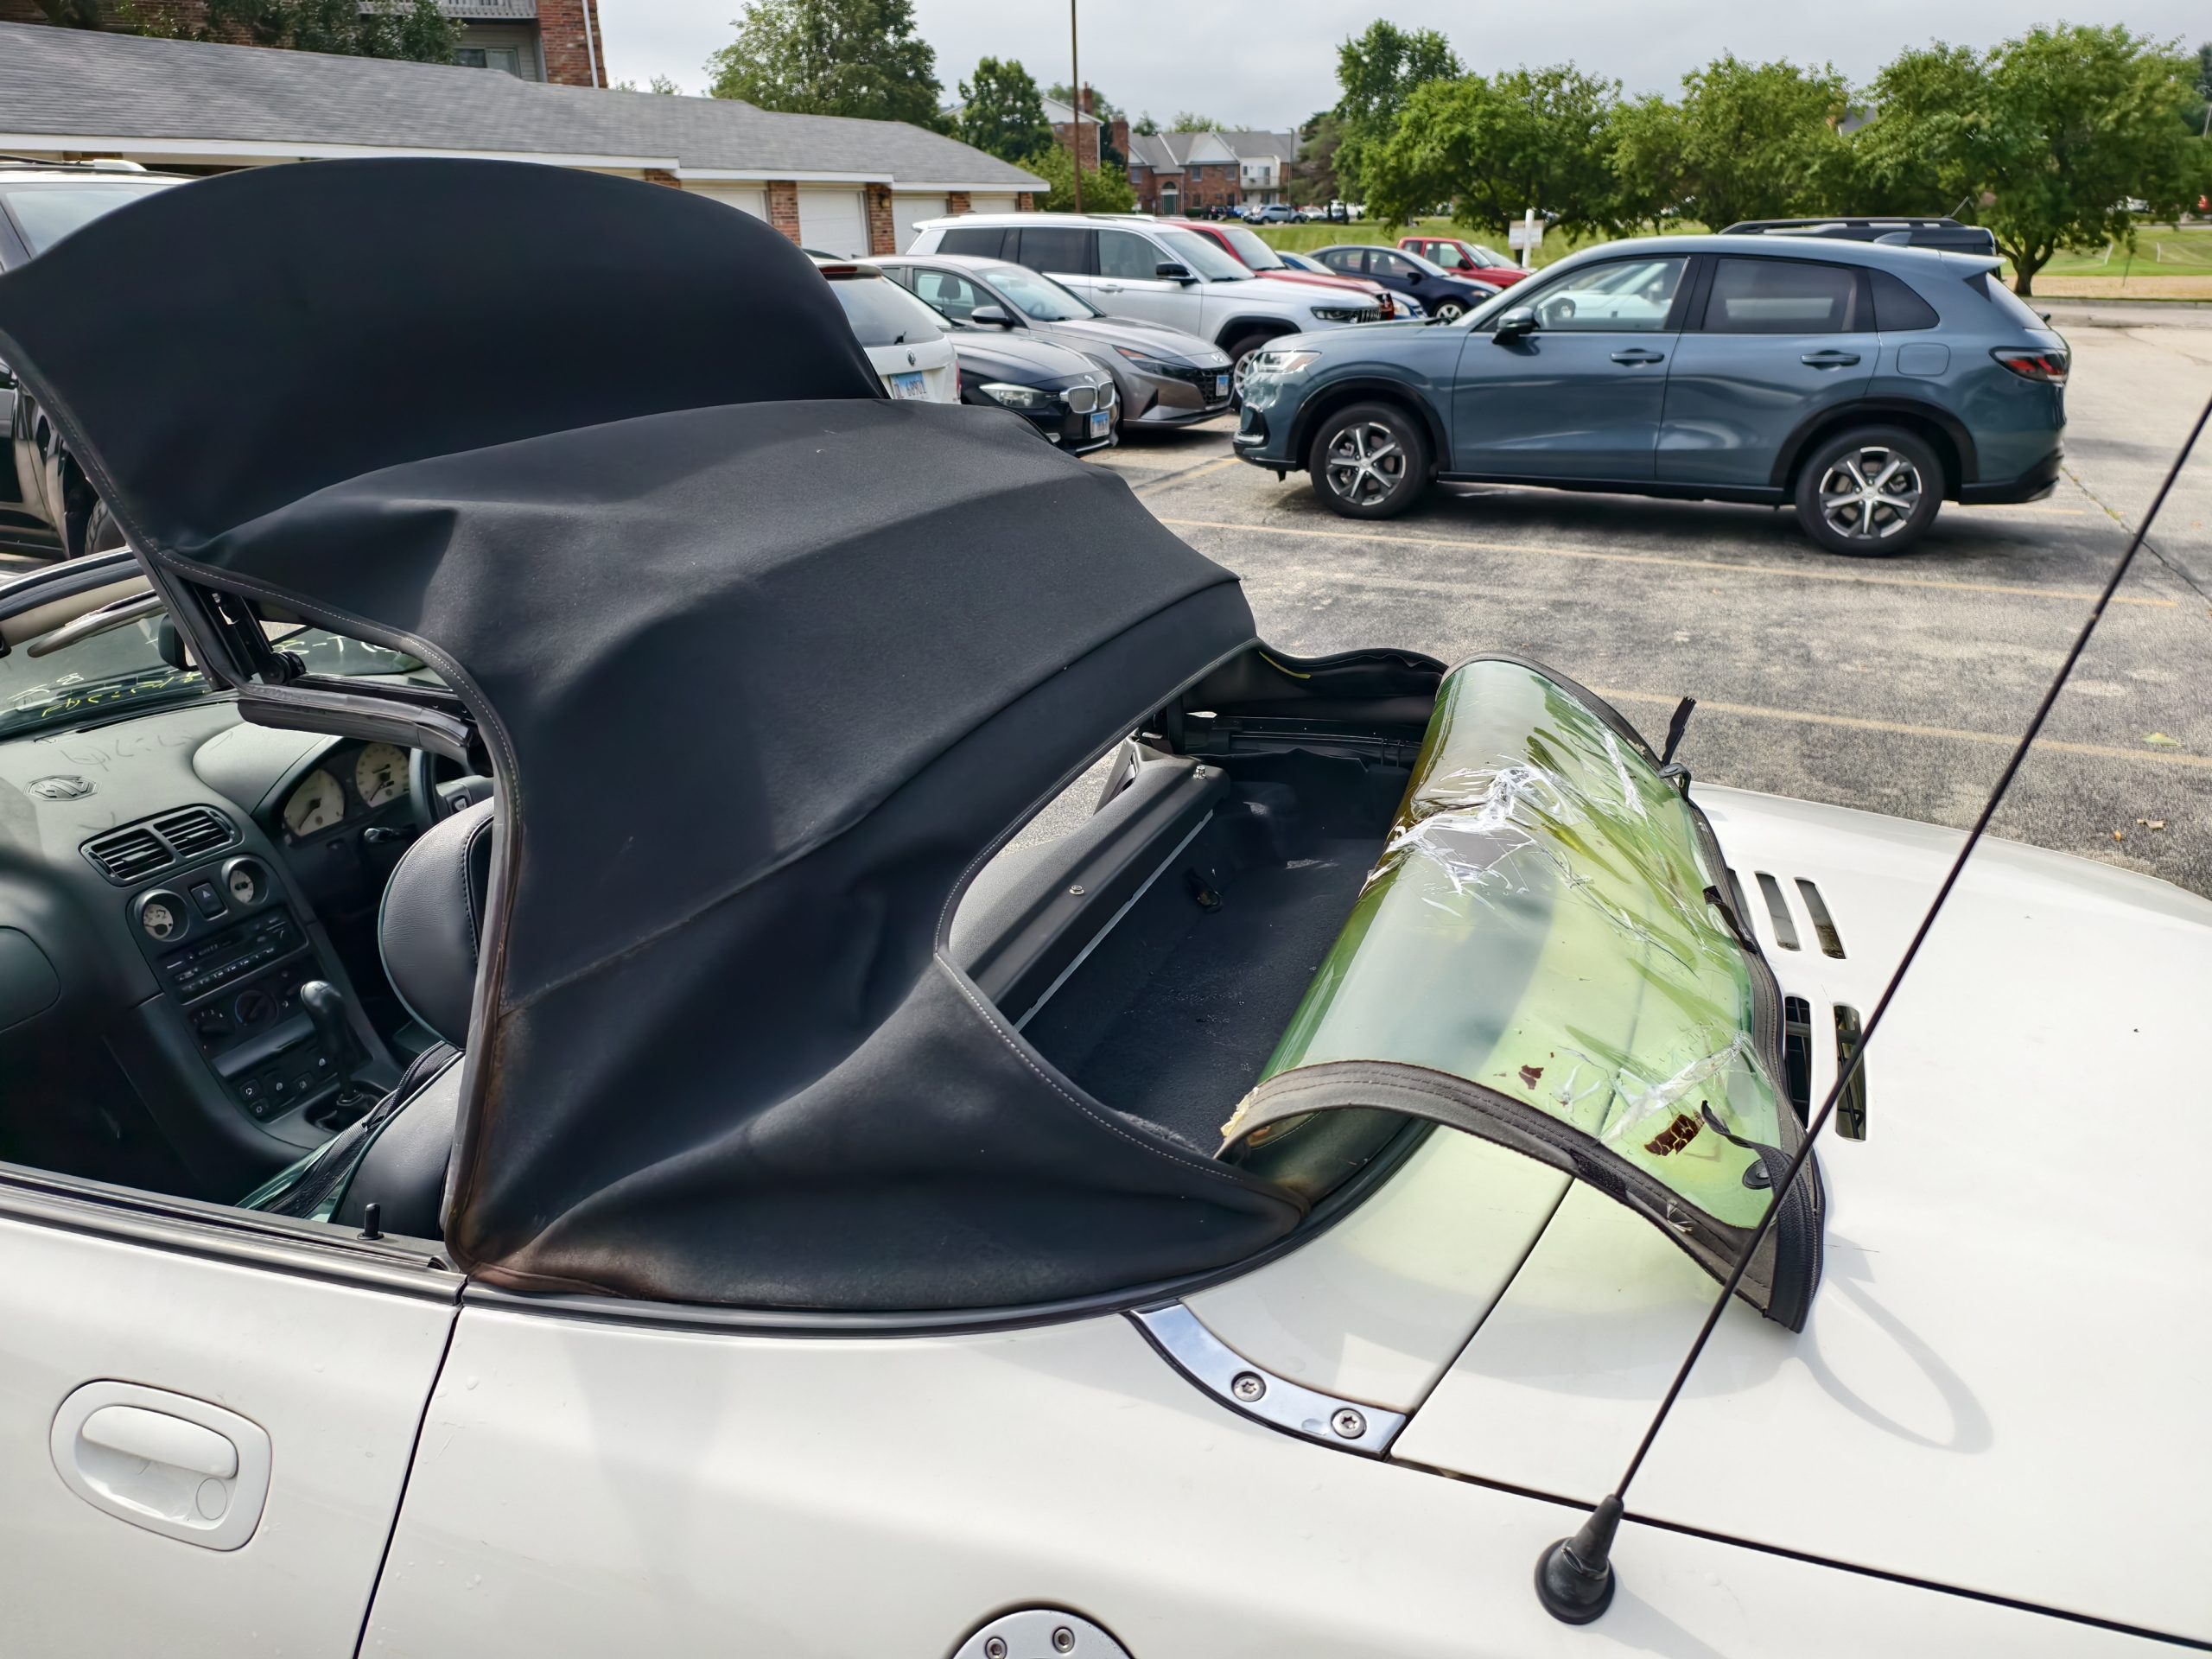
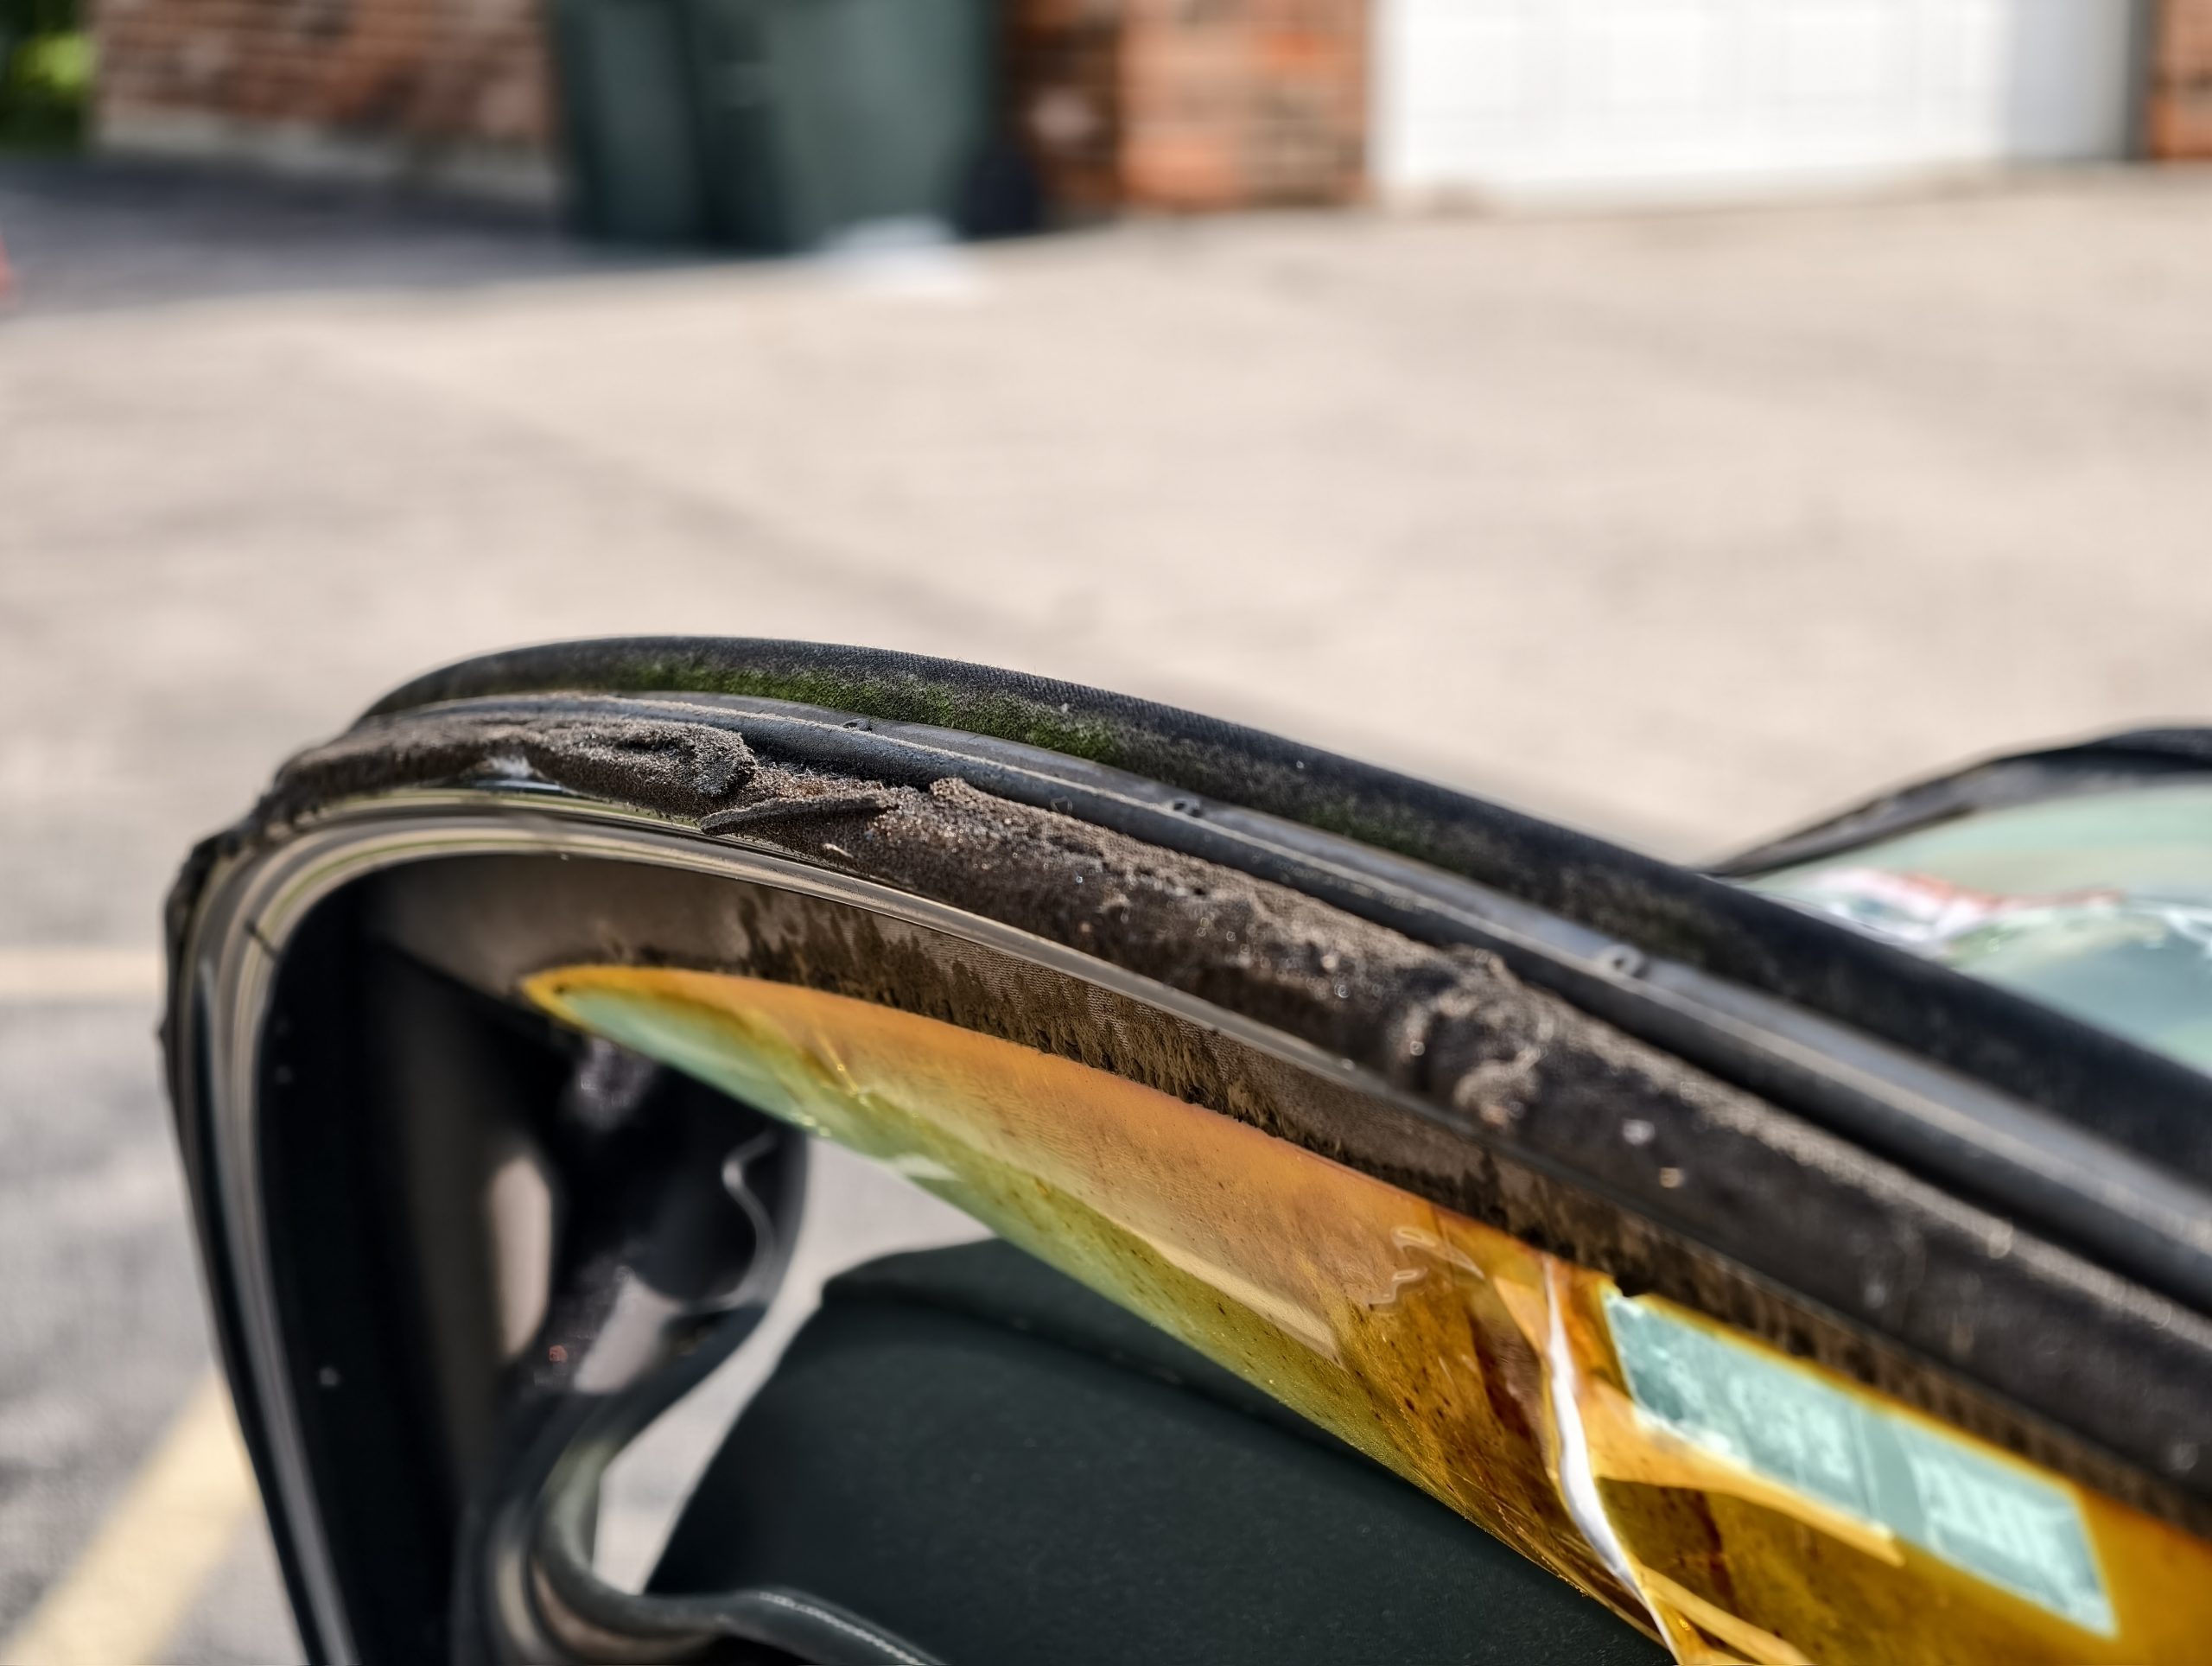
The only other issue I encountered was the convertible window. Someone at the yard in Japan was generous enough to use almost an entire roll of packing tape to seal the window. Surprisingly, this temporary fix prevented most water from getting in. It even survived the road trip back home. However, it was a time bomb. I had no idea when the tape would stop working. Usually, I take my time when repairing a car, but I didn’t want to risk the window coming apart during a heavy fall thunderstorm and damaging the interior.
But even if I had overlooked the broken window, it was also so tarnished that it was impossible to see through. The opaque back window made me feel as though I was driving around in a bunker, not a sleek roadster. So, I needed to fix it.
Thankfully, I planned ahead.
Window Replacement Options
Prior to purchasing the car in June, I looked into what repairing the window would involve. I came across numerous online discussions and some video guides. They all indicated that replacing the window was a straightforward job for an average DIY enthusiast. Keep in mind that the earliest MGF models date back to 1995, so by 2025, there are many of these plastic windows that have cracked, making the repair a common occurrence.
Based on my research, MGF owners usually choose between two options when their rear windows eventually crack and break. If they wish to return their cars to their original state, they remove the remaining plastic window and send it to someone in the United Kingdom via Facebook who can install a new plastic one for less than 100 pounds. If these individuals don’t want to deal with the hassle of the rear window ever again, they canobtain a glass window enhancement.
Many of my vehicles remain in the garage, so I wasn’t too concerned about completing the full glass upgrade. Also, considering I reside in the United States, shipping a large automotive-quality window from Europe would be expensive.
Residing in the United States placed me in a difficult situation. I would need to take out the faulty window, send it to the UK, wait for it to be repaired, and then pay to have it sent back to the United States. Naturally, my car would be without a rear window during this entire period. Additionally, I wasn’t certain how the current U.S. government would manage my exporting and importing what is technically a car part.
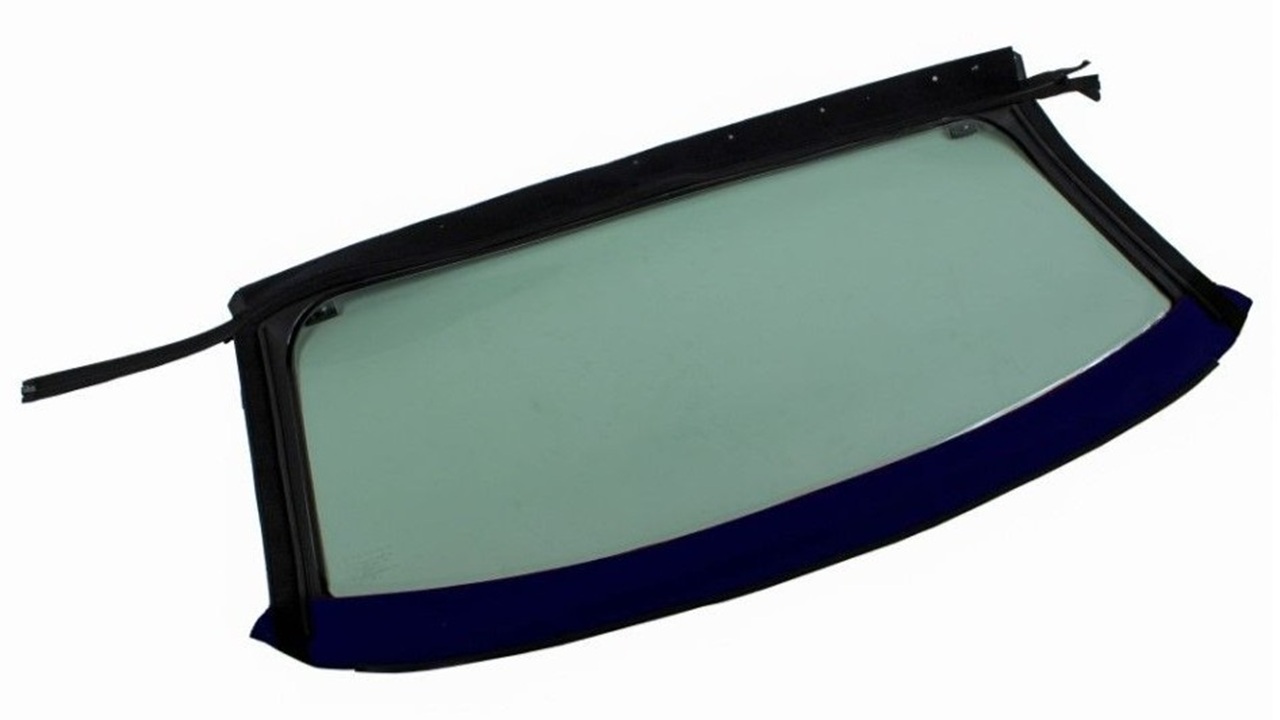
Fortunately, there are online parts suppliers that offer complete new plastic convertible roof sections. Although they cost more than sending the window to someone online, there were several benefits to purchasing a whole new component. I was able to order the part in advance, and it was waiting by my apartment door for a full month before the car arrived in Baltimore. I also avoided the hassle of exporting a piece and having it sent back.
I bought a new back window part fromCabrio Supply,A company located in the Netherlands. The component I received was manufactured by BAS International and contained all the parts required for installation. The tools I utilized for this project consisted of a standard power drill and a manual riveter. That’s all. Seriously!
If you are an MGF owner and have come across this article, I would like to caution you that if you are purchasing a completely new window, you should be mindful of the zipper type. According toMGF Mania LtdA well-known provider of MGF parts, the MGF utilized three distinct kinds of zippers. Early MGF models produced in 1995 and 1996 typically featured 7mm YKK zippers, although some vehicles were equipped with 7mm Opti zippers. Vehicles manufactured between 1997 and 2006 should have an 8mm Opti zipper. These zipper styles can be recognized by examining the zipper slider. The specific type of zipper should be stamped or etched onto the slider.
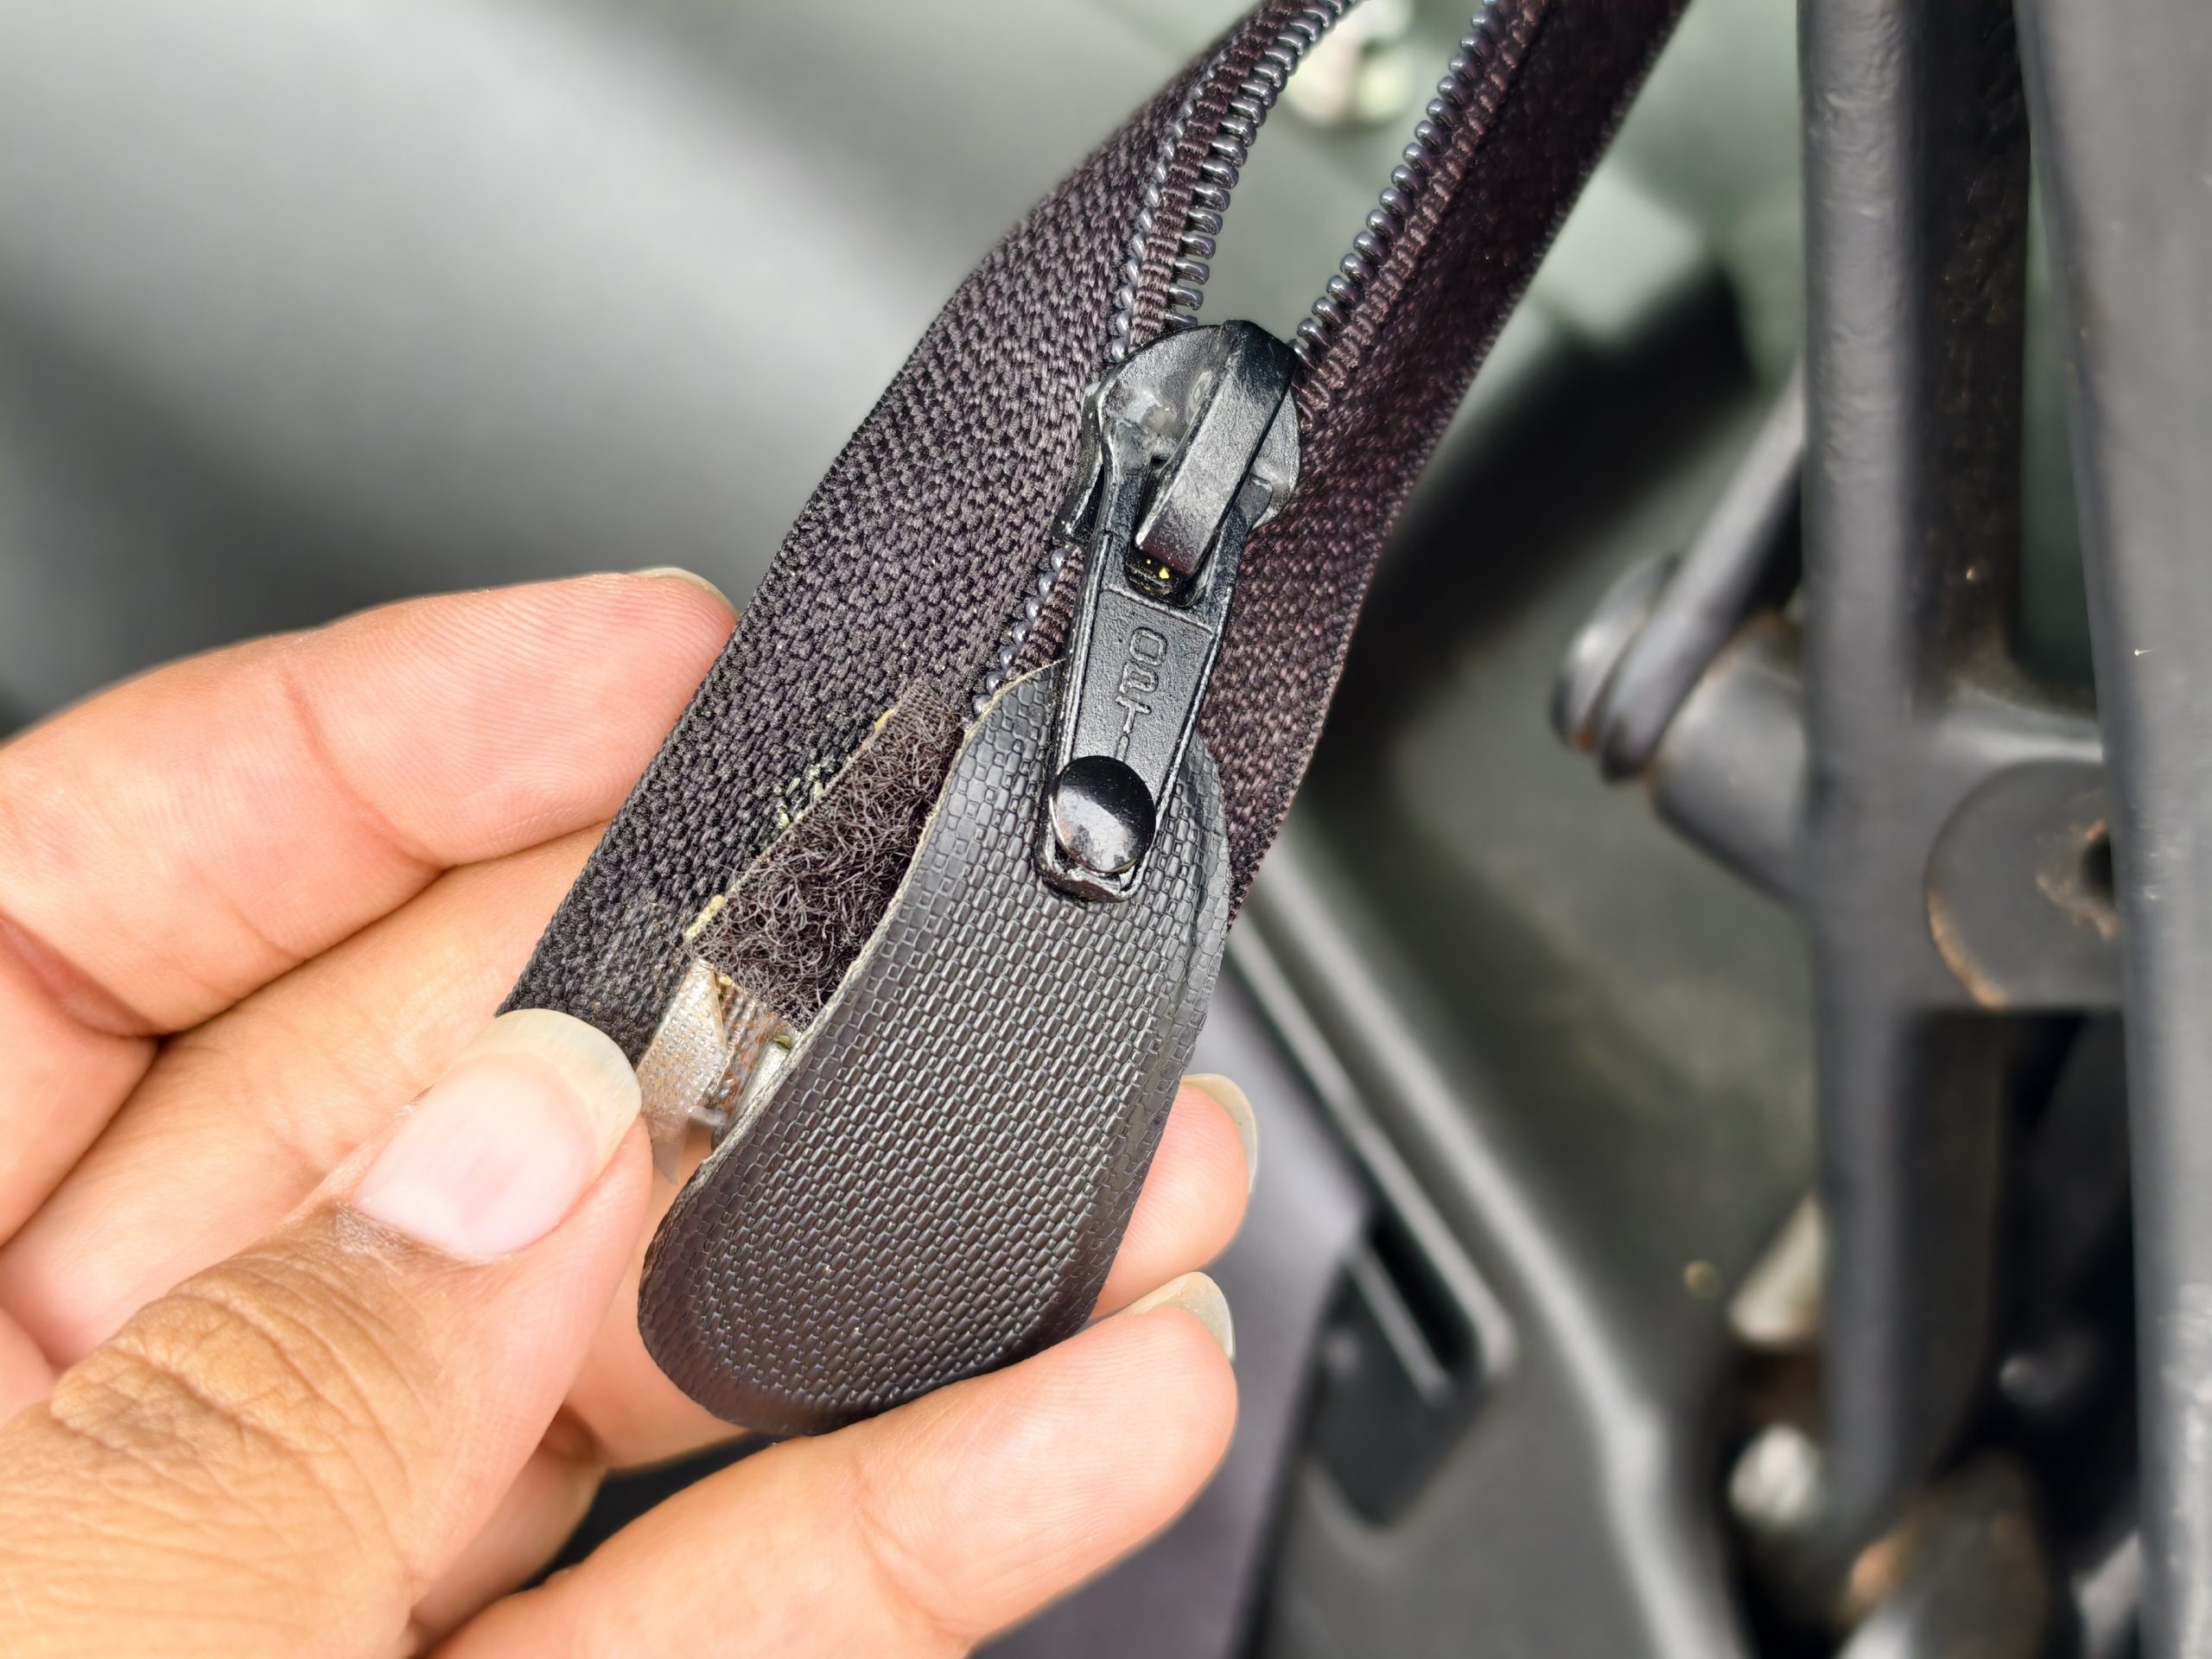
This is crucial because attempting to connect a YKK zipper with a newer Opti zip or the other way around will not function properly, leaving you in a difficult situation.
I verified that I had bought a new window featuring an 8mm Opti zip, but I wasn’t sure if that’s what was originally in my car. If a prior owner had worked on the roof and installed an aftermarket zip, there was no way to know if it would function properly. Fortunately, BAS International includes both halves of the zip with their new windows in case something like this happens, but fitting a new header zip is much more complicated than simply replacing the window.
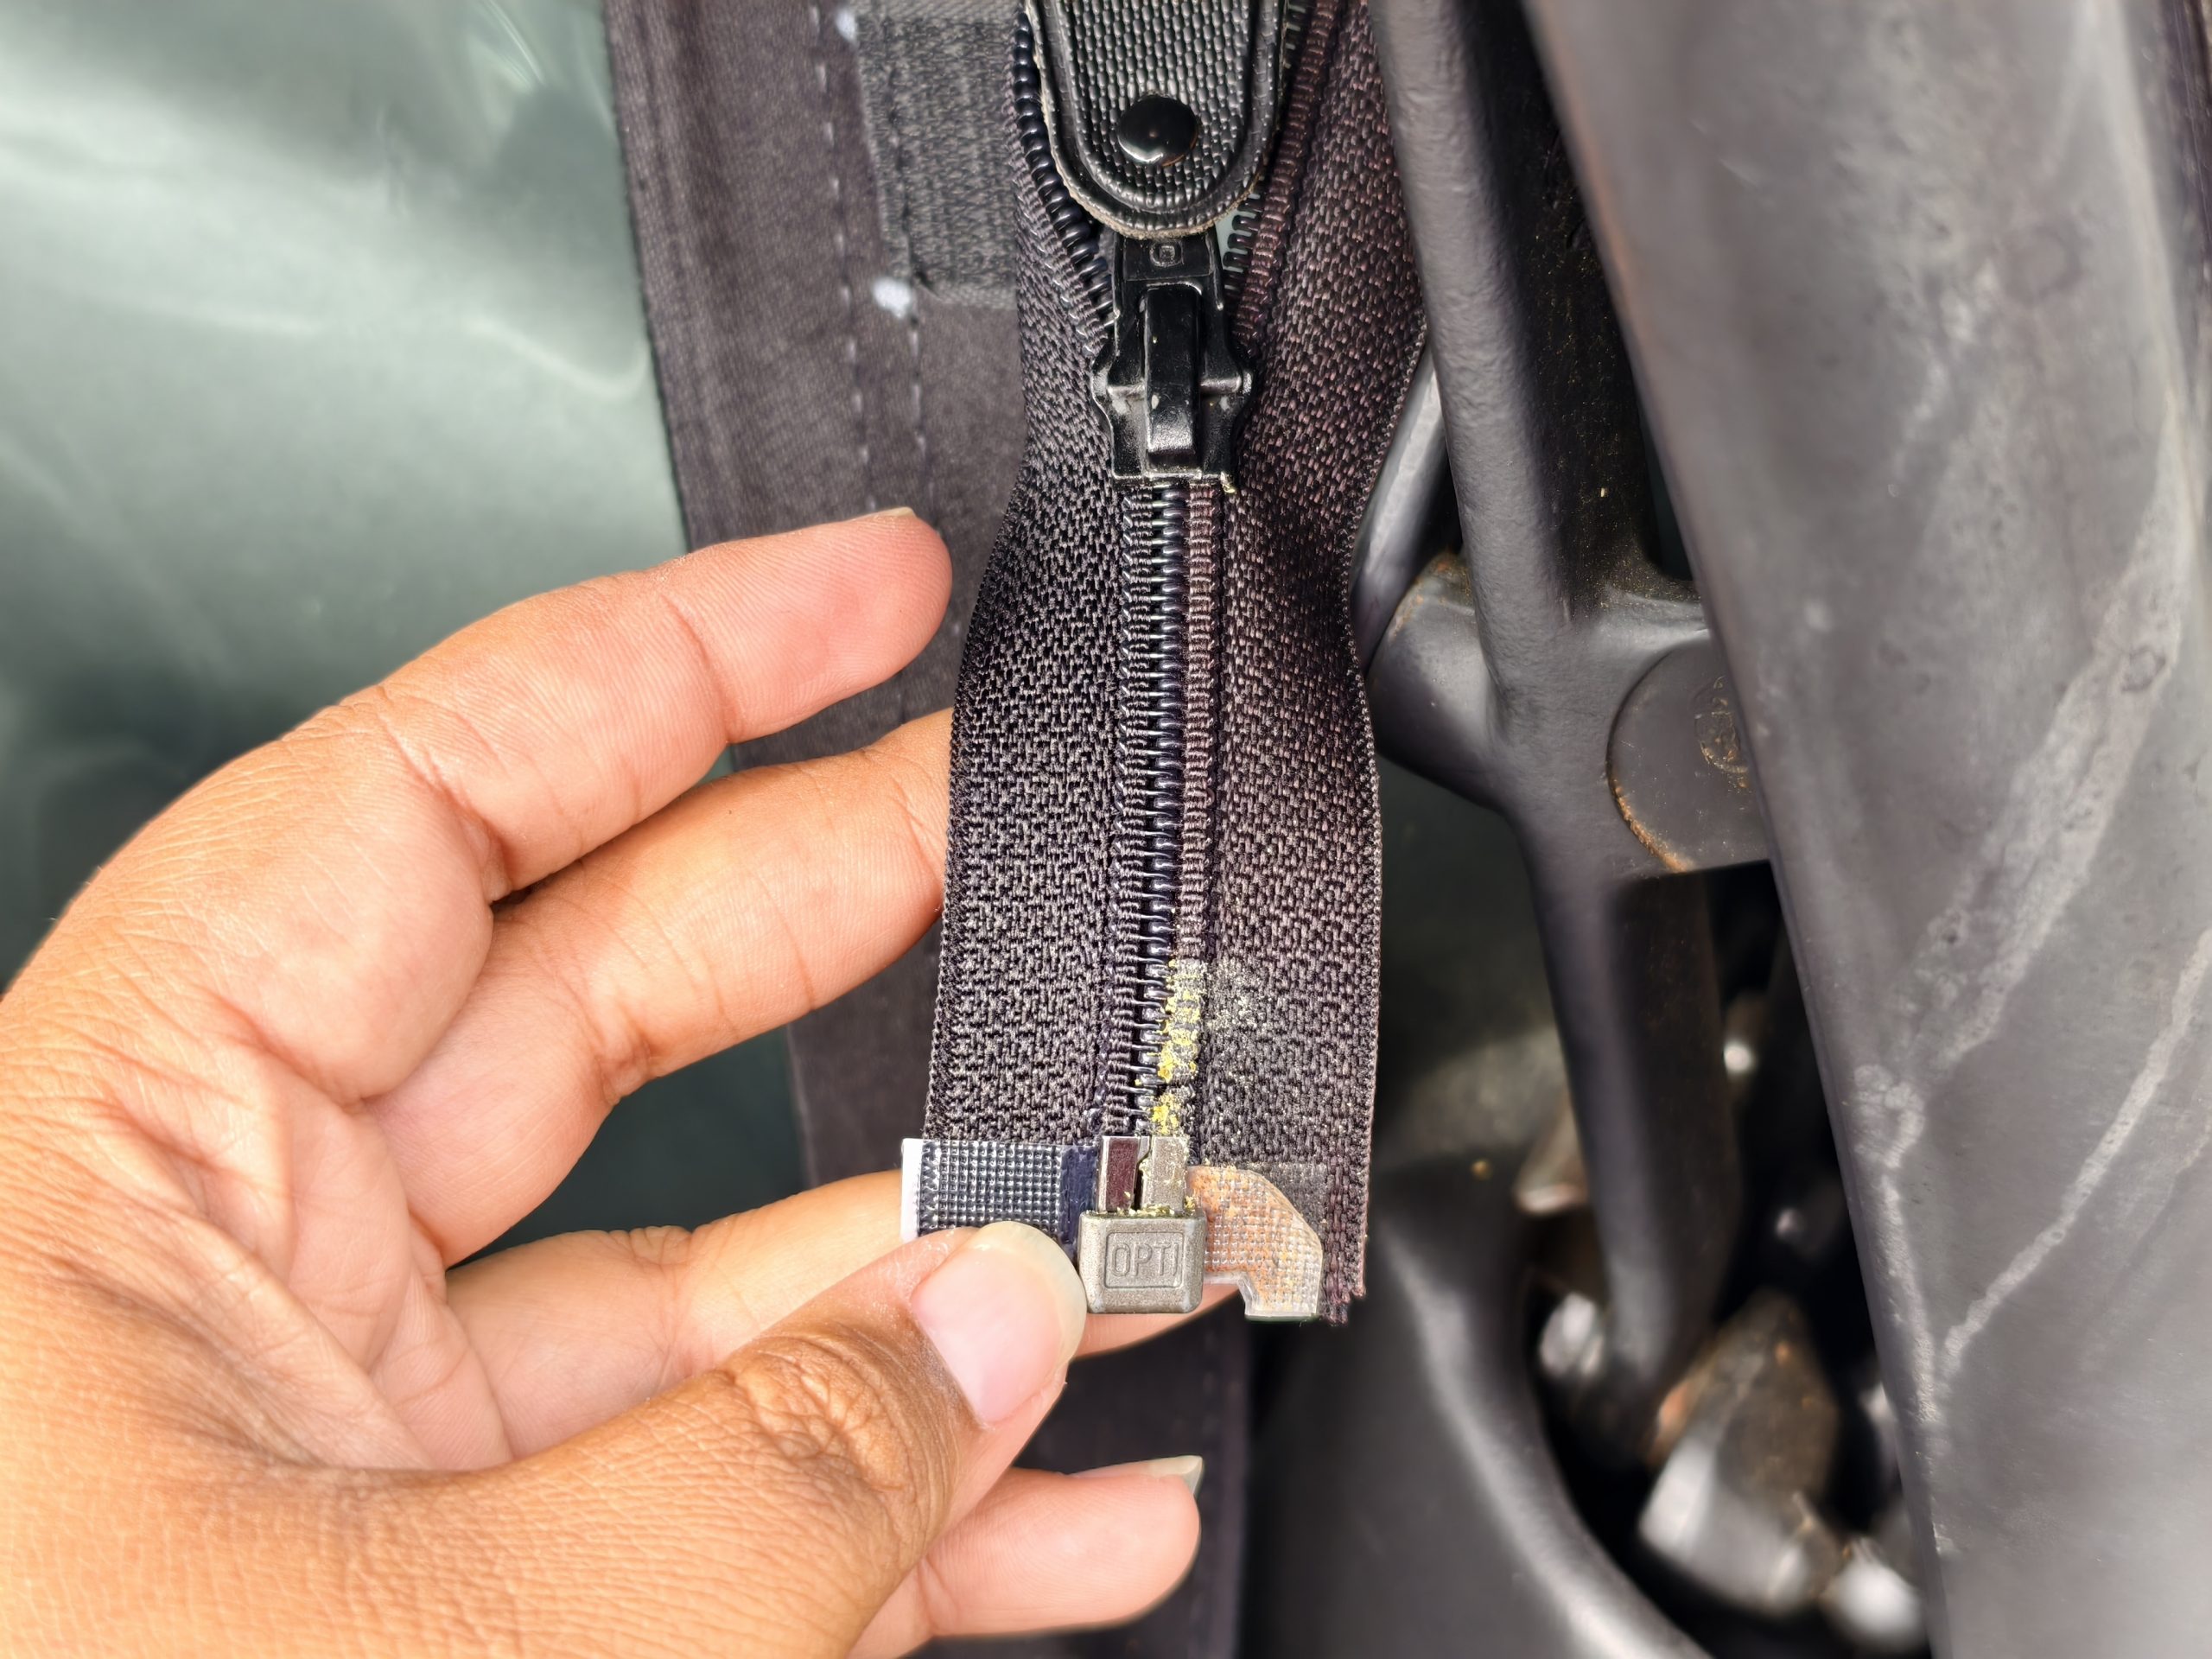
As a result, when I began the task of replacing the window, my initial step was to check if the zipper functioned properly.
Installing The New Window
This was straightforward. Initially, I opened the damaged plastic window by unzipping it. When the zipper reached the end of its track, I used the key to my apartment, inserted it into the metal stop at the end of the zipper, and then turned it. This caused the stop to pop out, enabling the zipper to extend fully, which let me remove the window from the zipper. After that, I placed the new zipper and tested it. It fit perfectly!
Excellent, now that I was aware the window would slide in, I shifted it aside and began removing the old window.
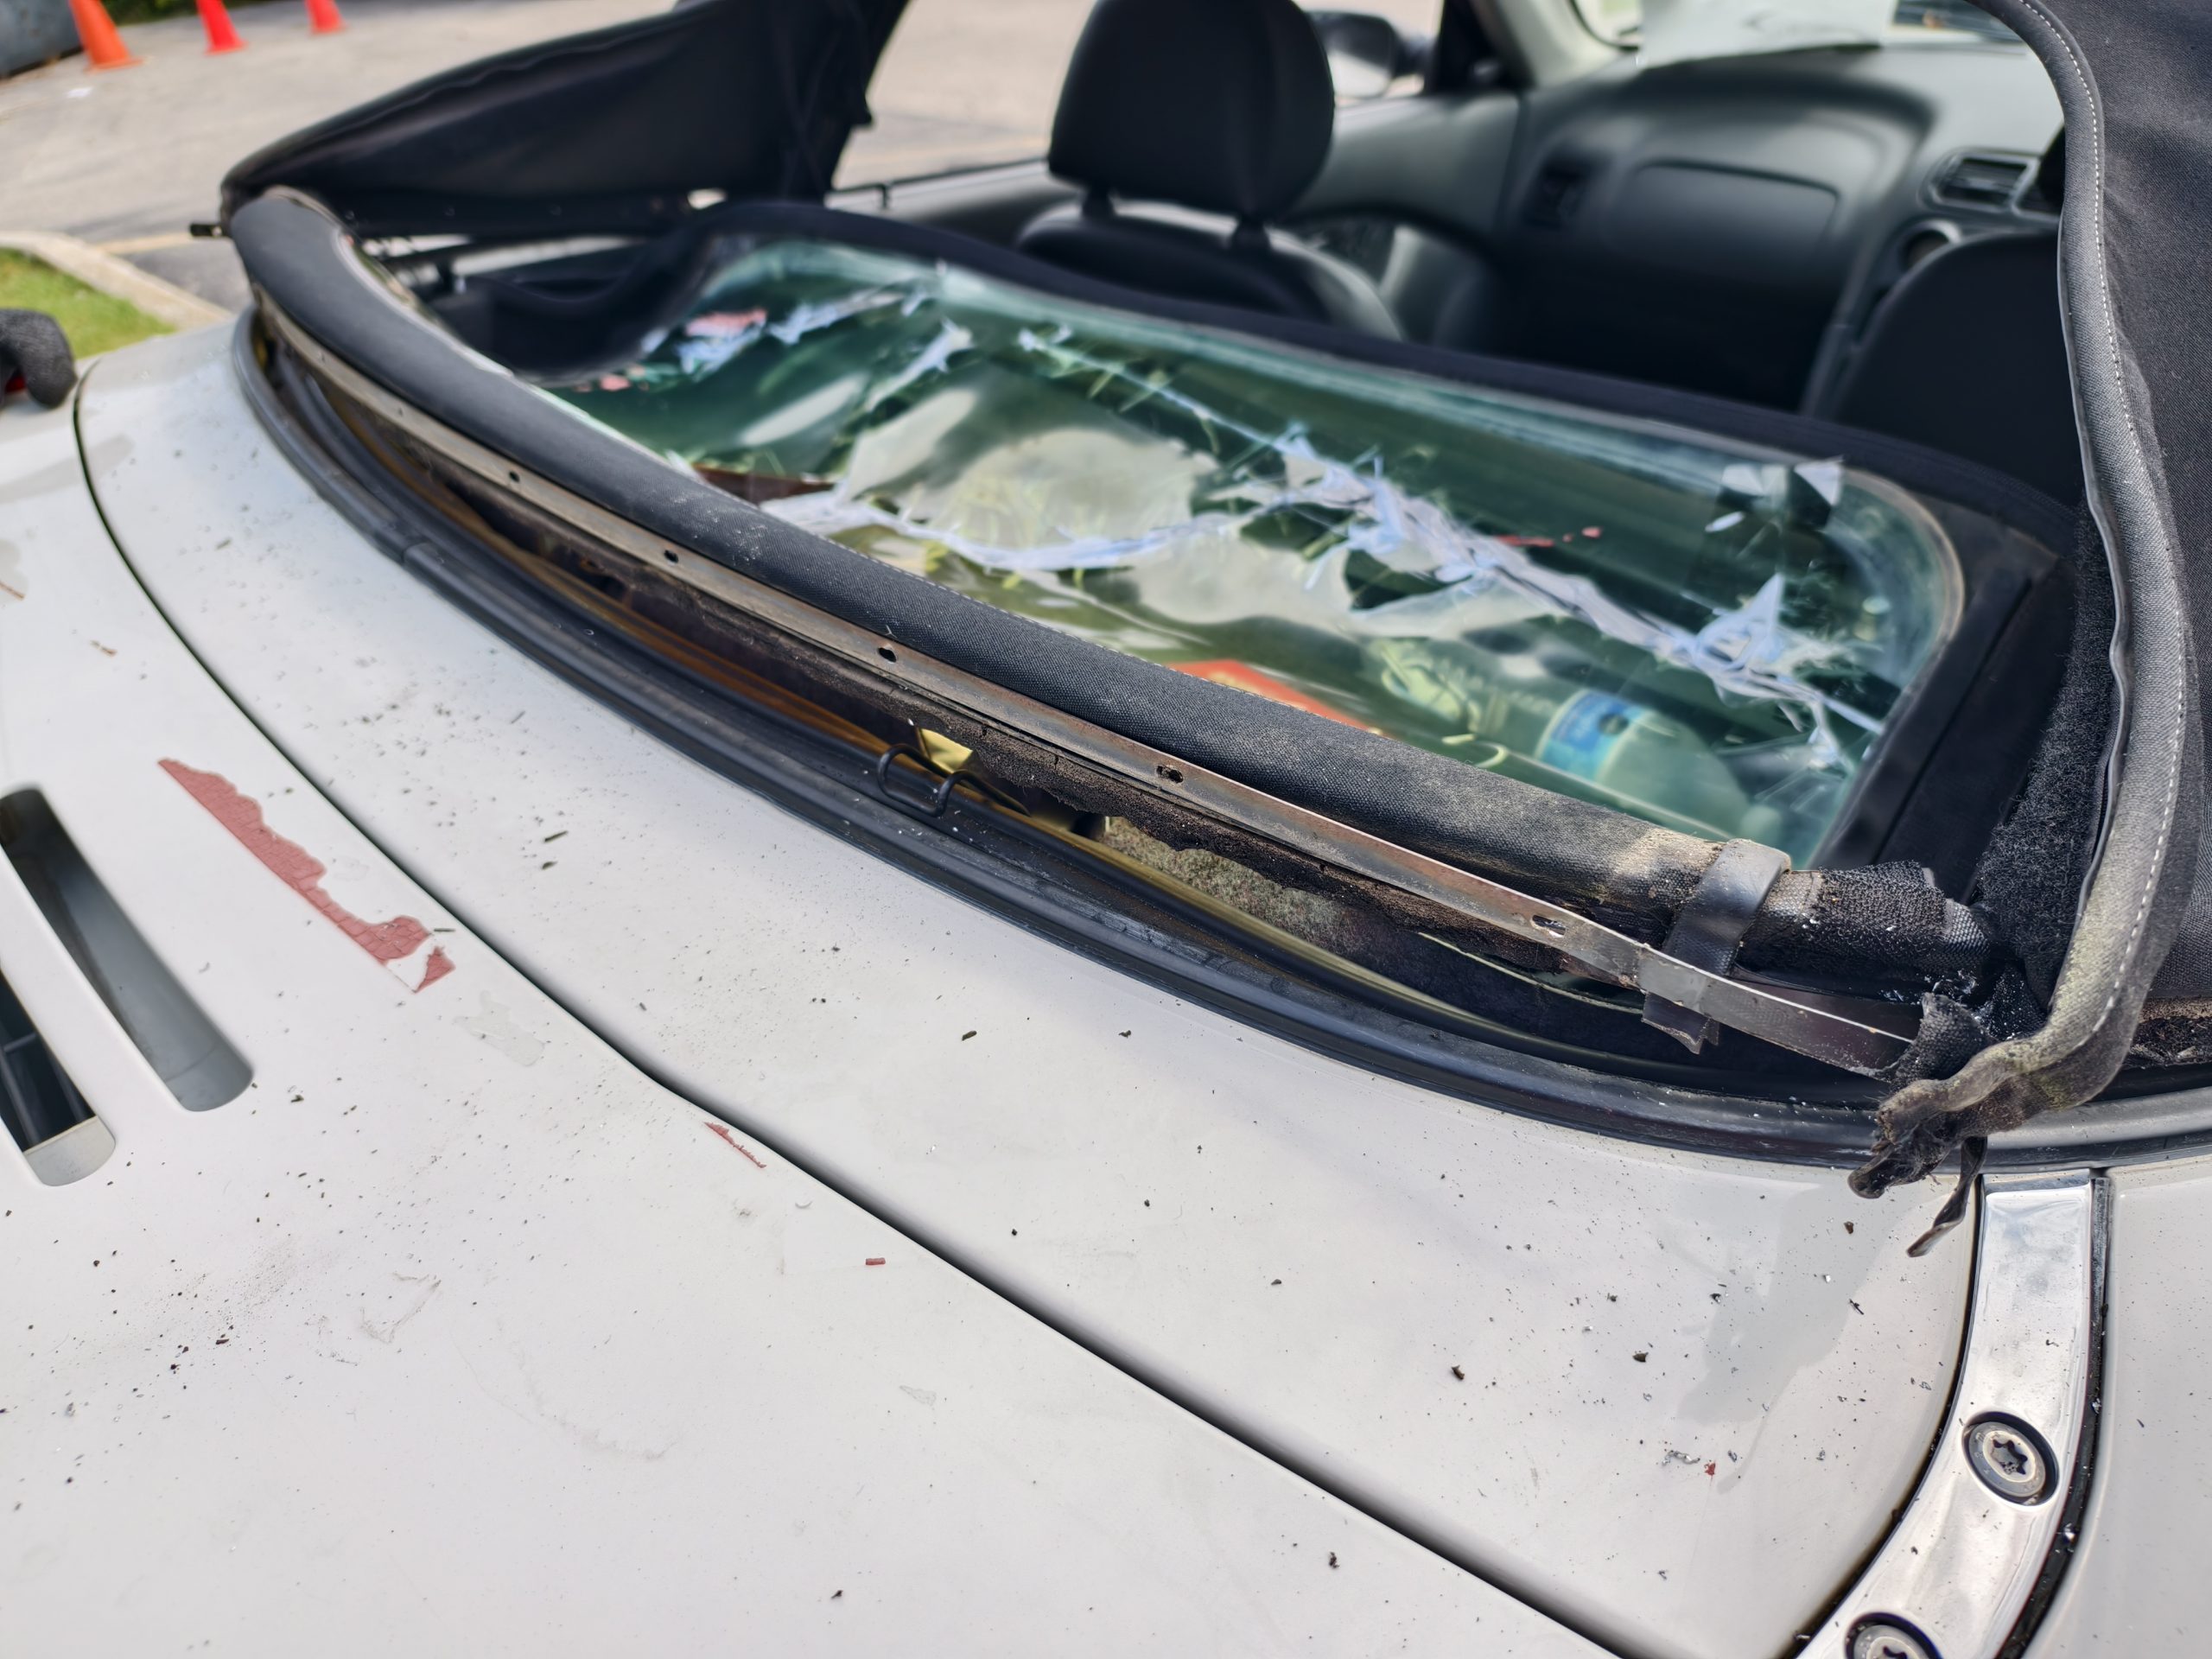
To begin, you should first unlatch the back of the convertible top. Open the vehicle and check the “package shelf” at the back. You will find a series of briefcase-style latches. Unlock all of them and then lift the rear part of the convertible top frame to raise the back of the top.
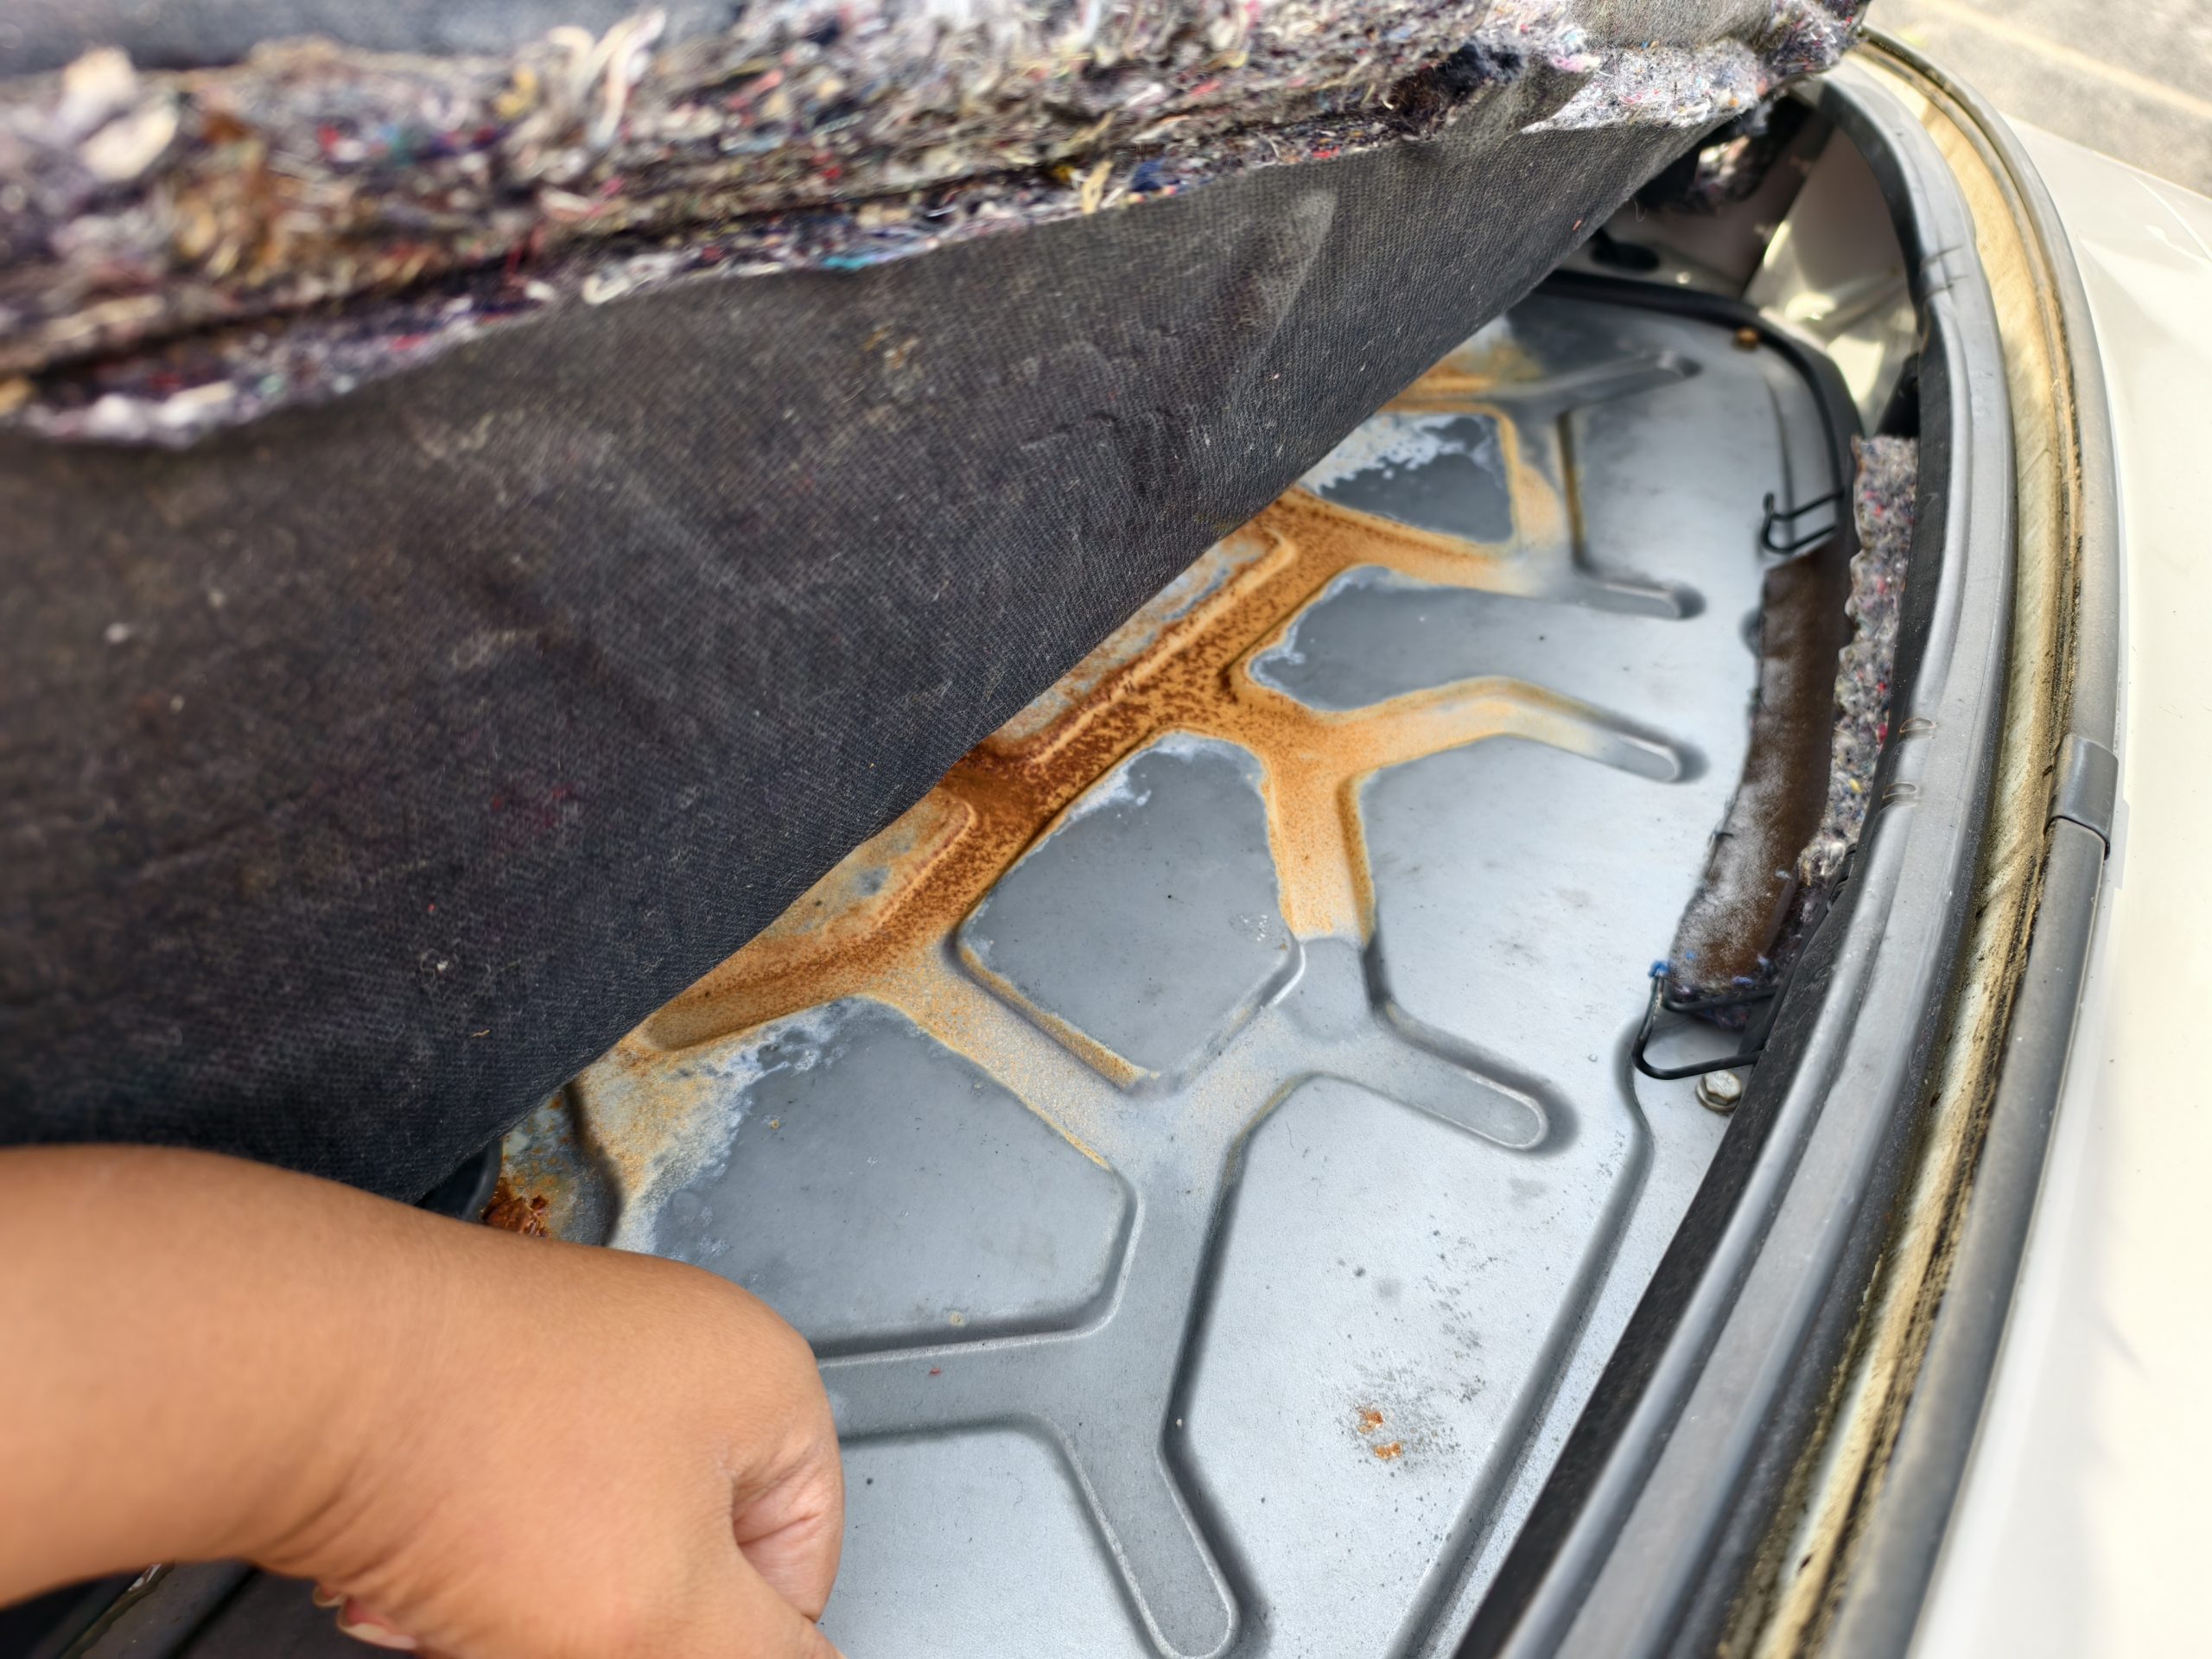
Now is an excellent opportunity to look underneath the carpet to assess the level of rust on the metal beneath. I’ve observed that multiple British MGFs tend to be quite rusty in this area. Mine isn’t too bad!
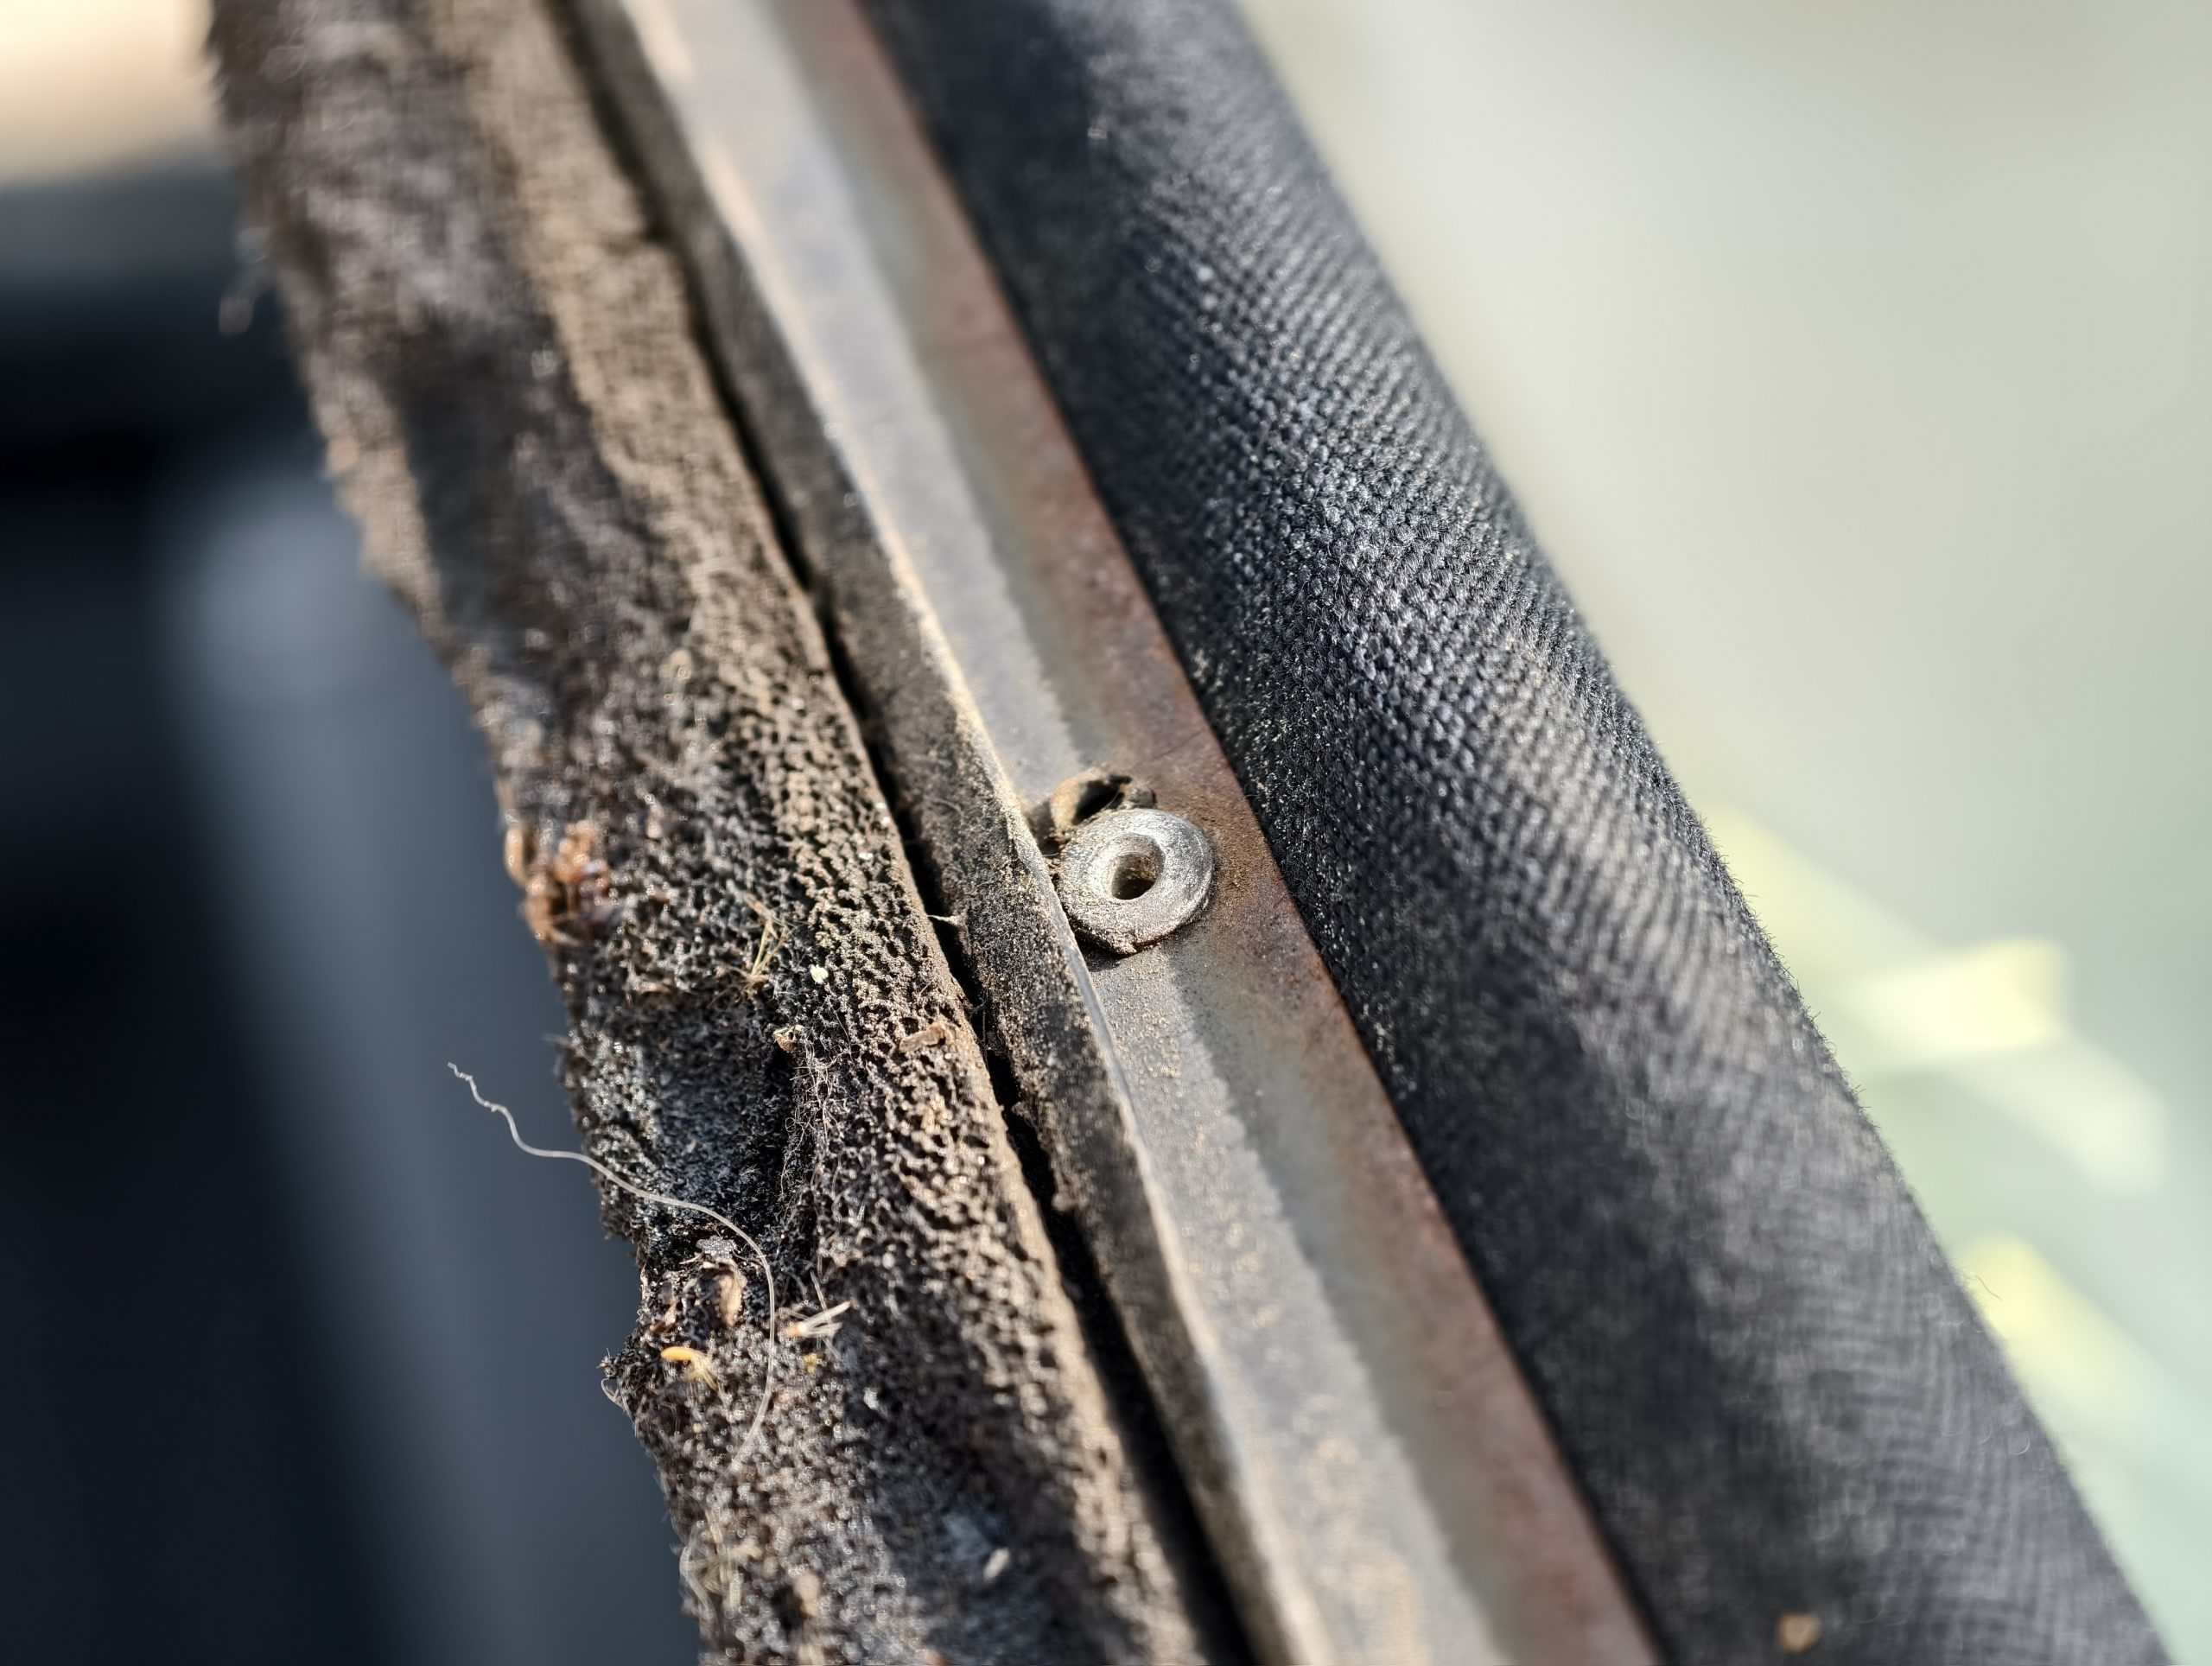
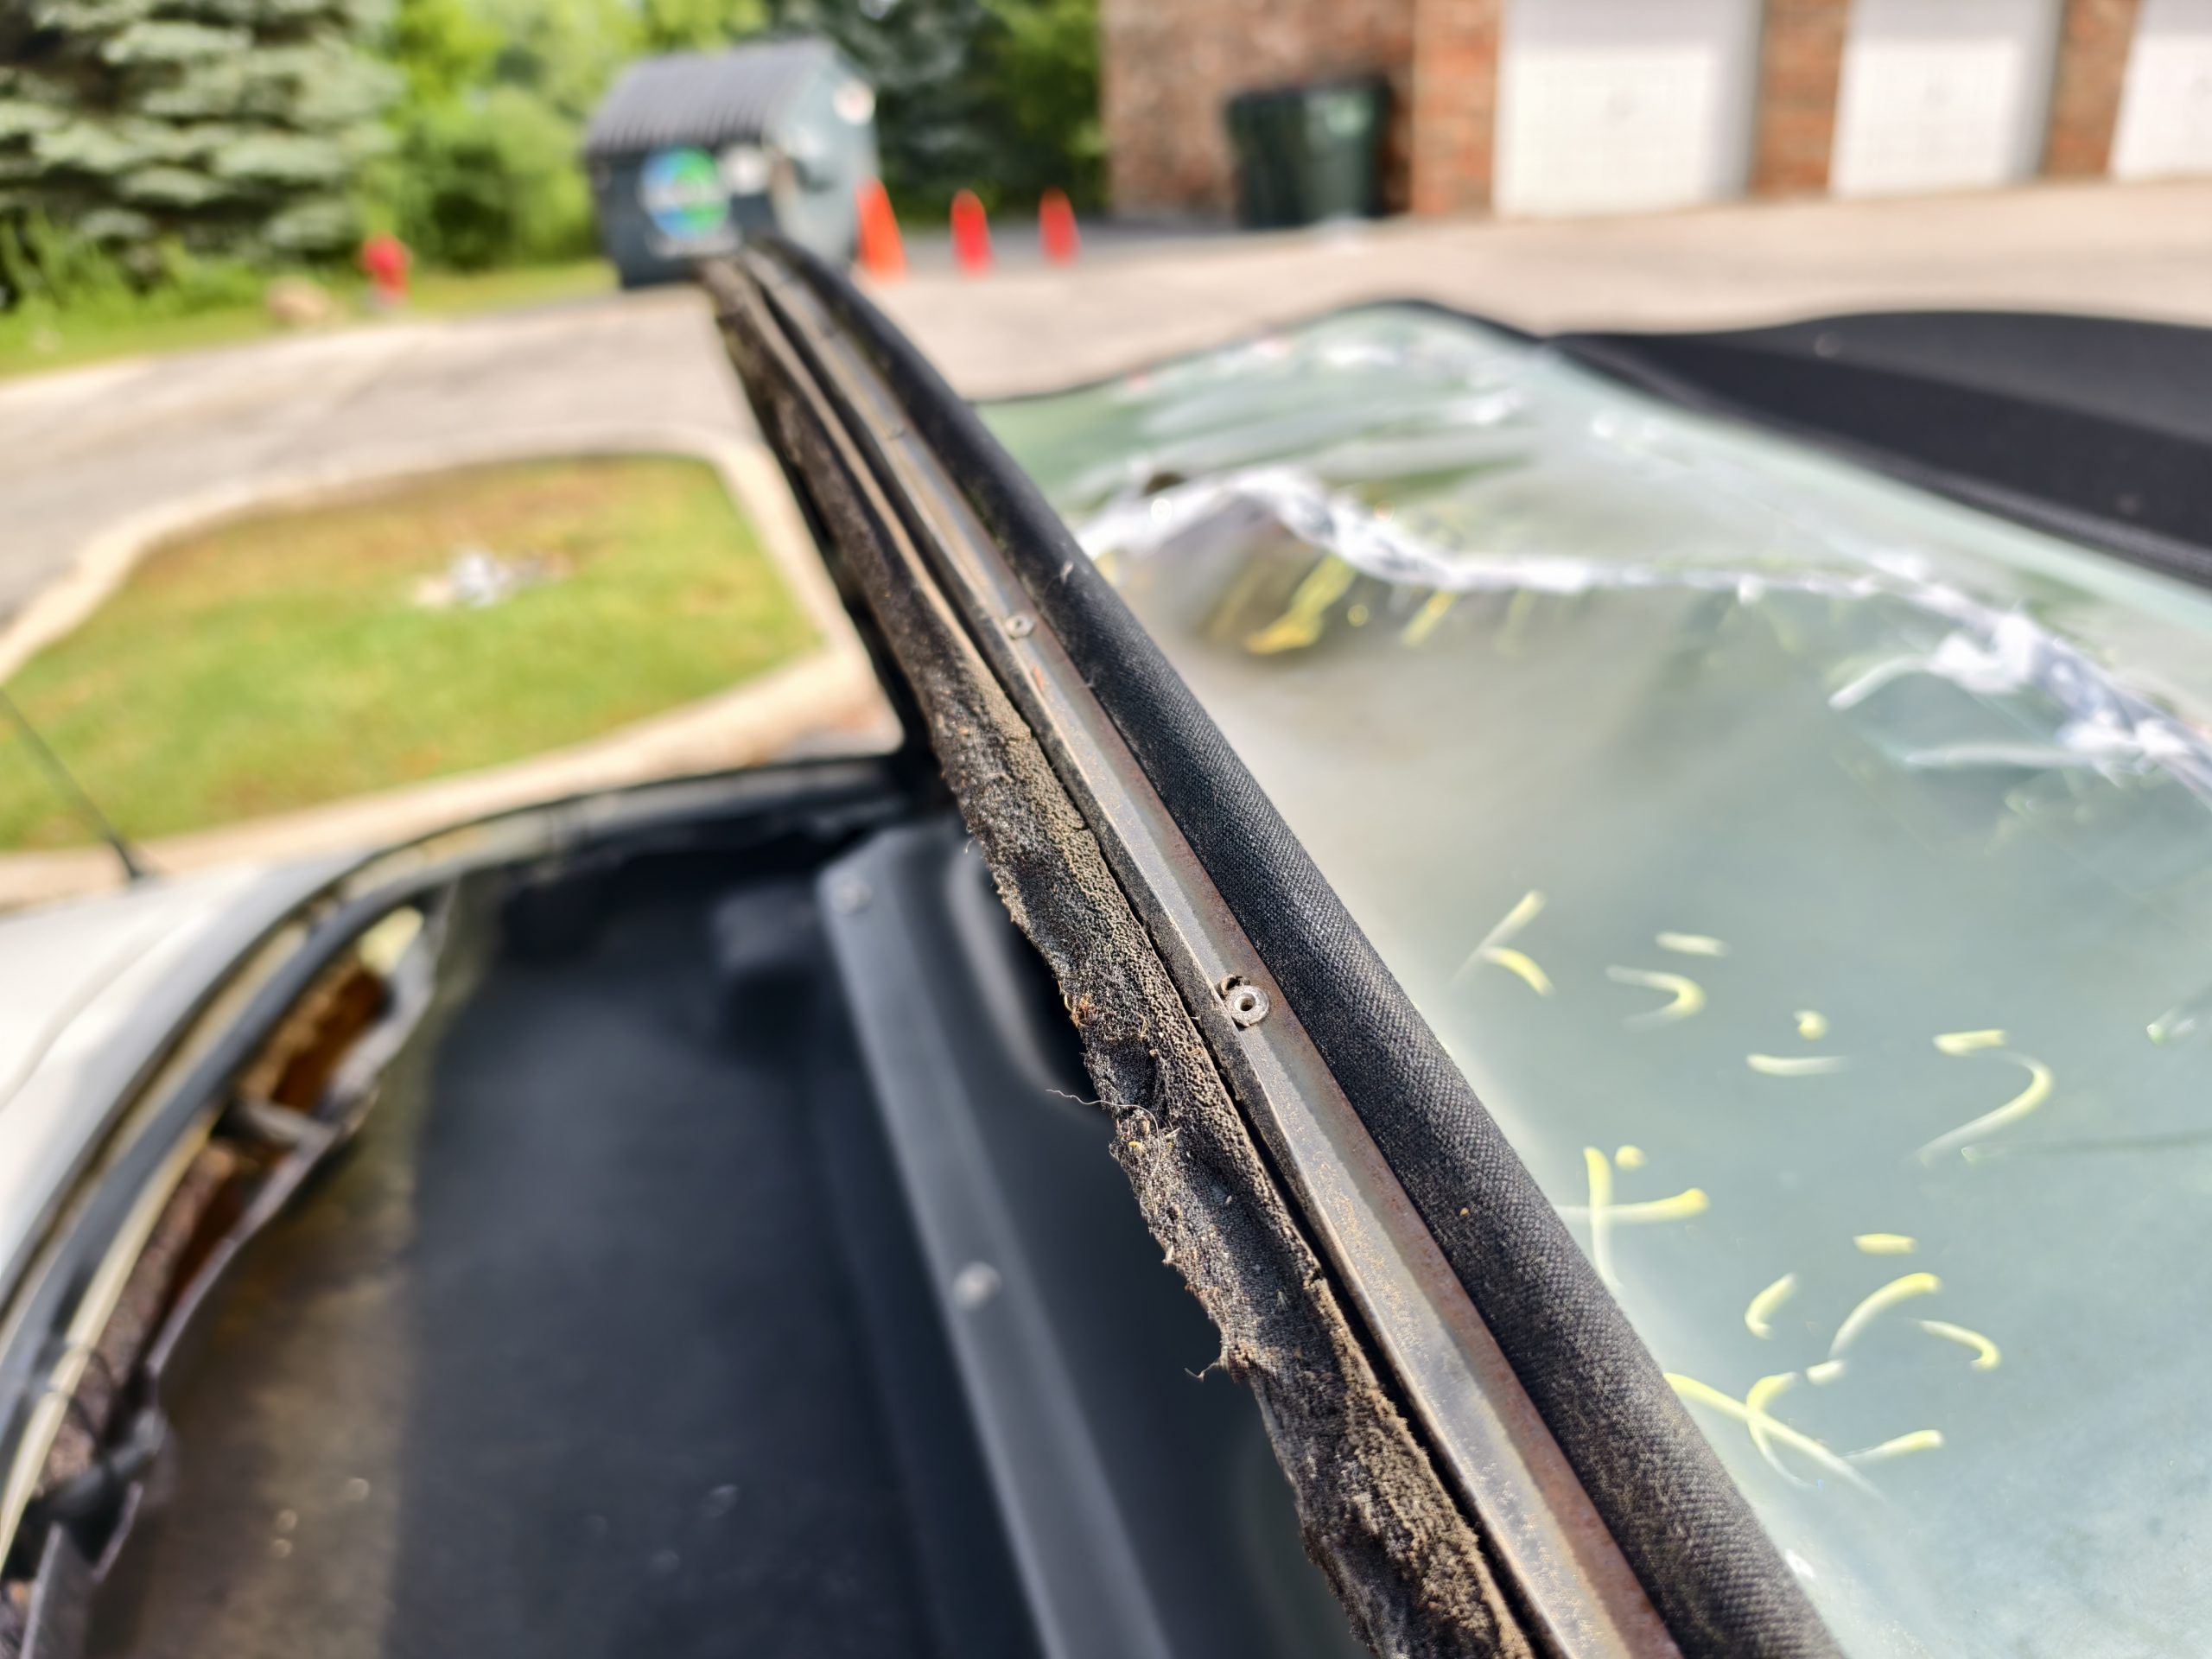
After lifting the back part of the top, you’ll discover about 10 rivets securing the window in place. These are composed of very soft metal, making them simple to drill through with a 3.5mm bit. Make sure to remove each rivet completely, as you’ll need the holes for the next step. Keep in mind that there are two additional rivets concealed behind the edges of the convertible top material that must also be taken out.
This YouTube video is a huge help:
After you remove the rivets, the remains of the old window and the fabric around it will come out easily from the vehicle.
Now, it’s time to put in the new window. If you purchased your window from BAS, the bag of fasteners should contain more rivets than necessary for the job. Installation is technically the opposite of removal, but how difficult it will be largely depends on your riveter. People who have made YouTube videos on this topic claim the entire project will take about 40 minutes. However, these individuals used high-quality air riveters. It took me three hours. Why? Because I bought an inexpensive hand riveter from Amazon.
This riveter performed exactly as advertised, effortlessly installing each rivet, but the tool was supposed to automatically remove the extra mandrel, and that feature never functioned properly. It took me a long time to realize that I could clear the jam by repeatedly squeezing the handle while inserting a new rivet, which ultimately pushes out the mandrel from the last rivet I installed.
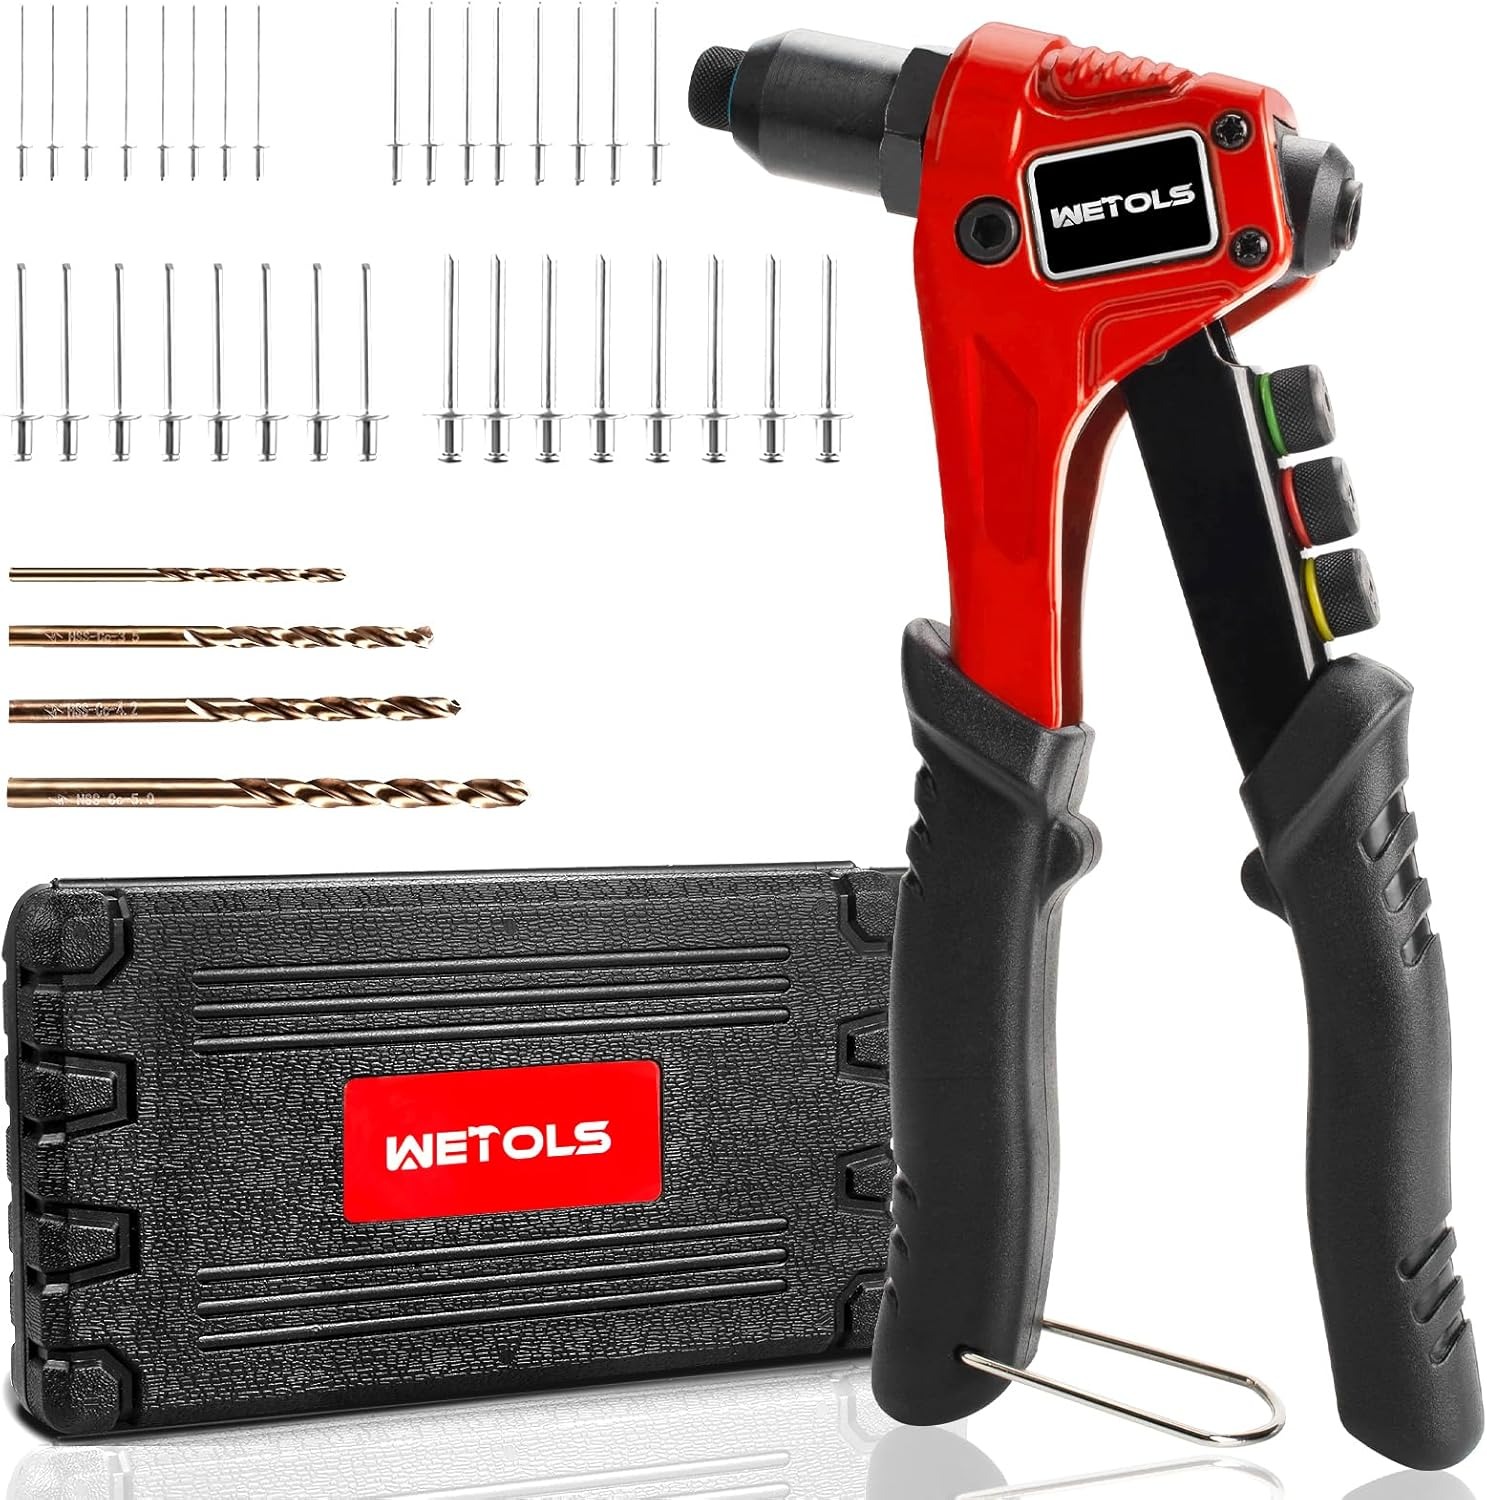
I guess this might have also been a matter of skill. This was my first time using any type of riveter, so perhaps my technique wasn’t great either. Using a hand riveter is straightforward. You attach a head that corresponds to the size of the rivet you plan to install. Next, insert the mandrel into the riveter. Push the rivet through the material you want to fasten, and then press the handle several times until the riveter produces a loud pop. Repeat this process for each rivet. In reality, with my inexpensive Amazon riveter, the process includes dealing with a jammed mandrel.
Regardless, the installation was straightforward after I fixed the jam. The convertible window from BAS had the holes already drilled. All I had to do was match each hole with the convertible top frame and a corresponding rivet, insert the rivet, and repeat this many times. The most challenging part was ensuring the window doesn’t shift out of place while preparing the next rivet. Although having a second person helps, it’s also manageable to do alone.

My only suggestion is to temporarily place the window, ensuring that every hole aligns properly. If you make a mistake with the positioning, you may not realize it until you reach the final few rivets, at which point you’ll have to begin again.
Otherwise, the project is easier than it seems. After securing all the rivets, zip up the window, close the roof, and take pride in your work. I should mention that, likely, the foam seal between your roof and the car’s body may be damaged, so you might need to replace it. For now, though, you’ve done a great job.
Well Worth The Work
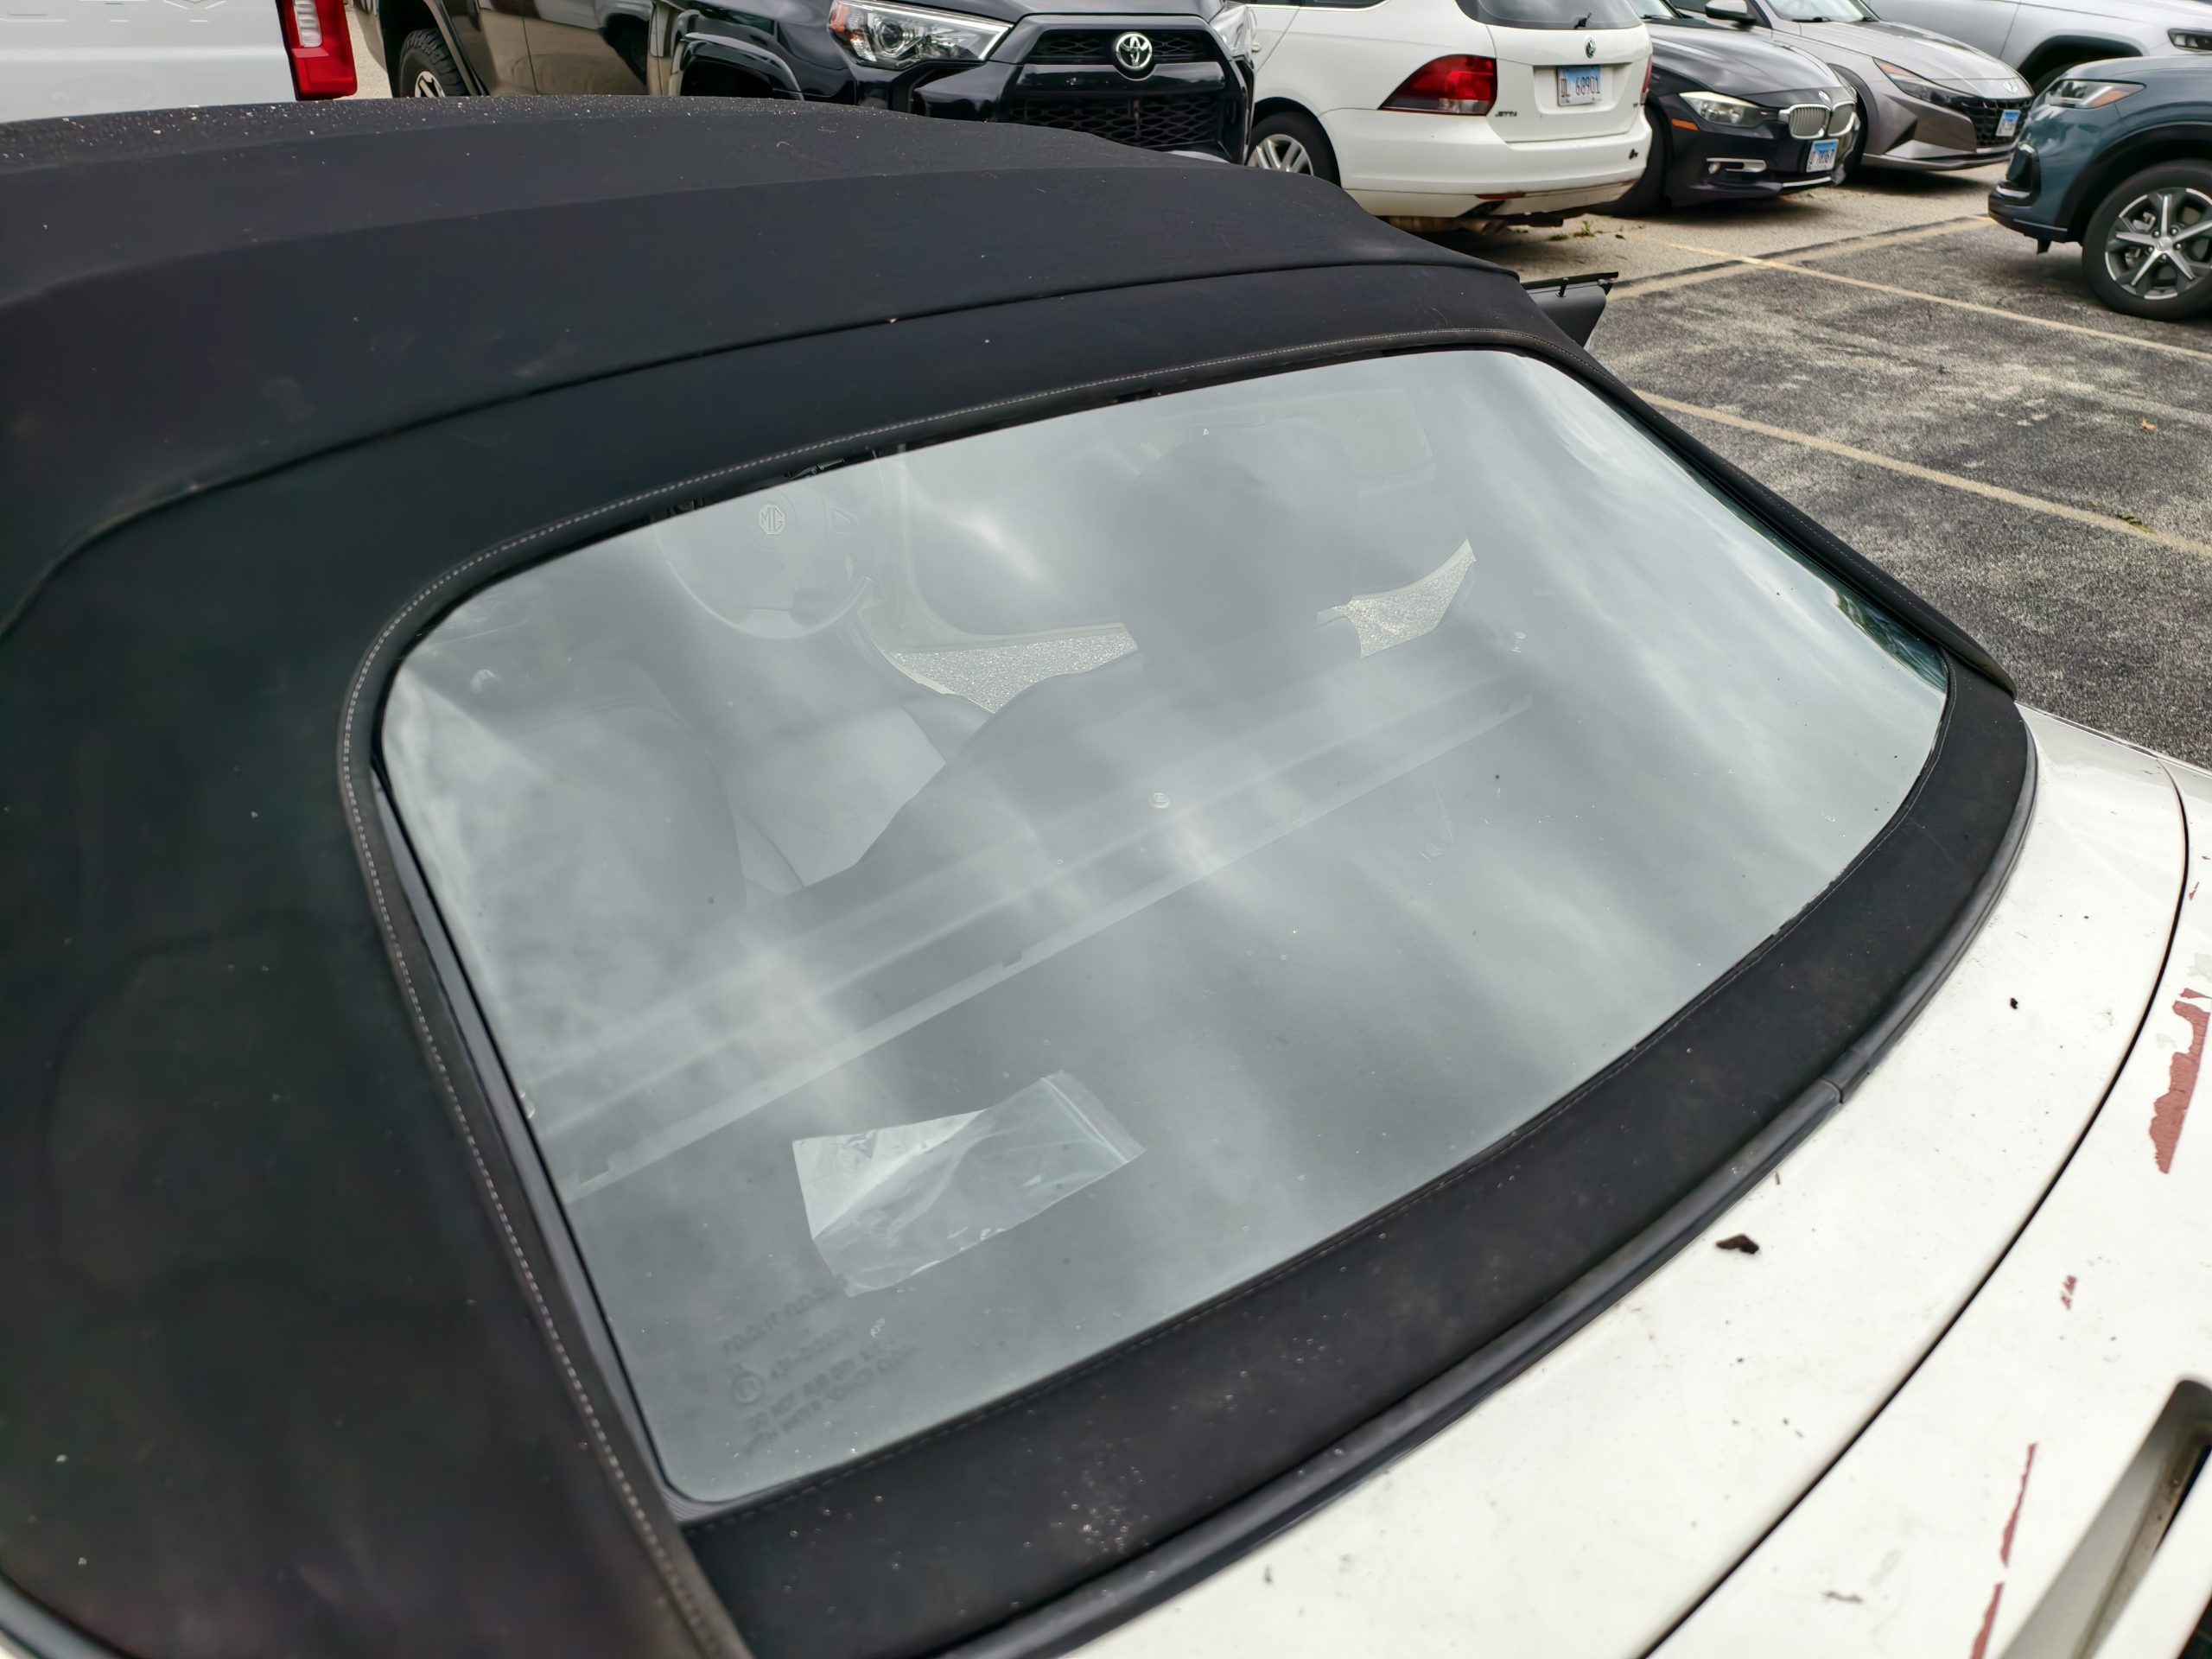
There was a significant change for my car. Not only can I now see what’s behind me, but the inside now feels much brighter and more open, and all I did was replace a window.
I’ve observed that MGF owners typically use two approaches for opening and closing the roof when the window is in good condition. Many individuals simply unzip the window. However, fiddling with the zipper can take a few minutes, so some people purchase a pool noodle and place it in the window when they lower the top. This helps prevent the window from creasing when it’s open. For now, I’m still using the zipper.
This project didn’t require a significant amount of money. The convertible window cost $319.95, which included shipping and import fees, whilethe riveter was $24.81. In addition to the frustrating jams, which other Amazon reviewers have also mentioned, the riveter functioned properly. Regardless, as I mentioned earlier, it’s possible to get this fixed for even less money. A boat canvas shop might be able to handle the repair, and depending on your location, you could send the original window to someone on Facebook who will replace the plastic. In my situation, I simply wanted the most straightforward solution, and this worked!
After I reattach the door panel and inflate the suspension, I’ll be finished working on this car. I can’t believe I’m saying that. I’ve become so accustomed to cars that always have at least one issue, but this MGF seems to be so well-maintained that I don’t have that problem. Well, at least for now. Either way, this has made me even more excited to enjoy the remaining warm days in Illinois with some open-top driving.
The post Here’s All the Issues With My $2000 British Roadster From Japan and How I Addressed Them appeared first on The Autopian.

