Autumn is a beloved season for many individuals across the country, even if the local foliage doesn’t display vibrant hues. What’s there not to appreciate? The climate is shifting, but it’s still comfortably mild. A wide range of enjoyable fall events, customs, and creative projects are taking place throughout the nation. People are coming together for meals and entertainment, your garden is prepared for picking, and there’s still ample time to tick off items on yourultimate to-do list for the garden of your dreams.
This charming project is ideal for those who enjoy gardening, drying their own herbs, or want to bring a magical touch to their kitchen this autumn. Whether you like discovering fun ways to enjoy your fall harvest or you’re searching for natural decorations to include in the spooky season, these enchanting small herb brooms are the perfect start. They not only bring a touch of autumn style to your kitchen, but they also serve as an excellent method for drying herbs to use after the season ends. Additionally, they fill your kitchen with the scent of your favorite herbs.
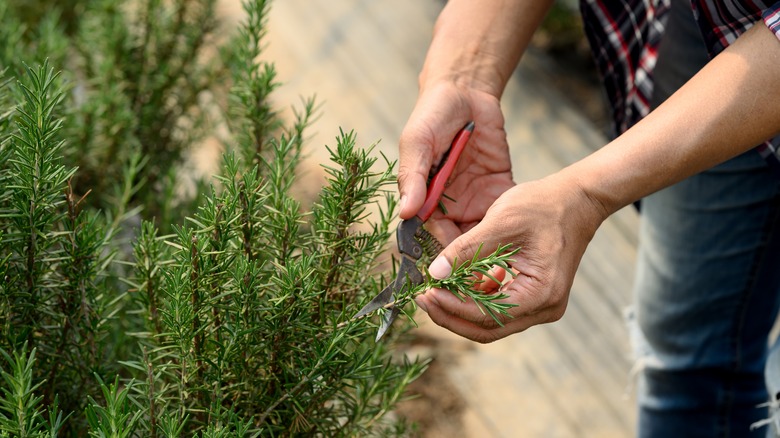
You can obtain the herbs needed for this project directly from your garden. Strong herbs such as rosemary, sage, thyme, and parsley provide an attractive look and dry effectively when suspended. Delicate herbs like basil, oregano, and mint are not recommended, as they may grow mold if they do not dry quickly enough.
Read more: How to Style 12 of the Most Frequently Encountered Items You’ll Discover at Thrift Stores in Your Home
How to create herb brooms for autumn decoration in your kitchen
Creating brooms from herbs is quite straightforward — nearly as simple as making herb bundles to hang on aherb drying rack. All you need to begin with are fresh-cut herbs, your preferred craft string or twine, and some sticks. Choose any size or form of stick you like, whether straight or curved; it’s entirely your choice. For optimal results, collect your herbs when they are suitable for preservation. A helpful guideline is to pick them in the morning once the dew has dried.
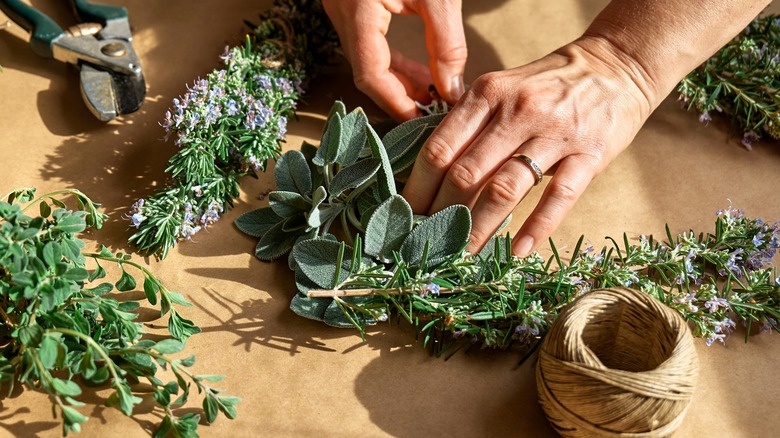
Begin by grouping your herbs into small bunches; each bunch will serve as the bristles for your broom. If you intend to keep the herbs for future use, make sure each broom contains only one kind of herb. If your main purpose is decoration, you can combine different herbs and express your creativity. Position the stick at the base of the herb bundle so that the top extends out as the broom handle. Wrap the herbs around the stick so they completely encase it. Next, wrap the string around once and secure it with a knot, ensuring there’s enough string left to tie it again. This keeps the herbs in place while you complete your broom.
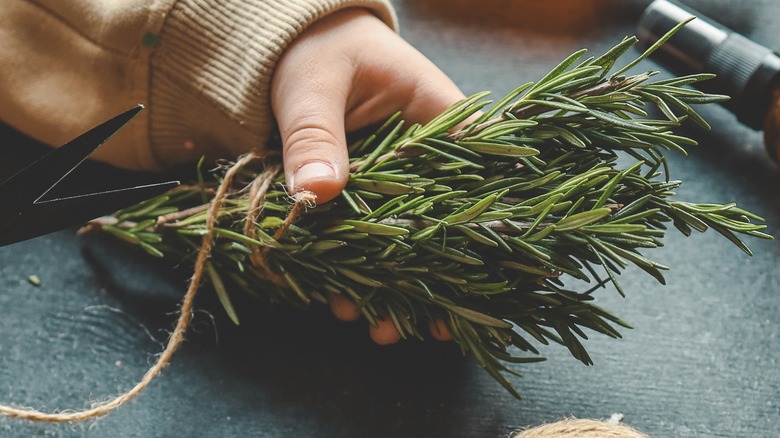
Finally, wrap the string around the herbs multiple times until you form a string band of the thickness you want. Use the remaining string from the first knot along with the end of the wrapped string to secure the band and then cut off any excess. That’s all! You now have enjoyable, versatile herb brooms that add autumn decoration to your kitchen while helping you make use of your herbs.
Creative ways to enhance the appearance of your herb brooms
These charming small brooms add a lot of autumn cheer to your kitchen on their own, but if you’re particularly creative, here are some additional ideas to make them really catch attention. There are two different styles you can achieve with just one simple adjustment. If you prefer a more rustic, untidy appearance, allow the ends of the herbs to stick out above the string band in a random manner. For a neater look, trim them just above the string band in a straight line.
You can also enhance the string by incorporating decorative knots, Chinese knots, or Celtic knots, which will elevate your herb broom decorations. Additionally, you can attach other items to your bristles or tie them onto the string, such as stones, leaves, burlap, or even dried fruit. For budget-friendly additions, you caneasily obtain free coffee burlap bags for your creative projects.
Some individuals include flowers in the bundle for aesthetic purposes, but if the intention is to dry the herbs for future cooking, it might be better to skip this step. Nevertheless, you can create more visually appealing brooms using the same technique with any materials you have available, such as flowers and leaves. Once your brooms are prepared, you can display them on strings or hooks along the wall, on herb drying racks, or in any other dry area of your kitchen.
Liked this article? Subscribe to receive professional home advice, do-it-yourself tutorials, and creative design ideas.House Digest newsletter!
Read the original article on House Digest.