Q: Our homeowners association is organizing a plant exchange in a few weeks. Participants can dig up plants from their gardens or split indoor plants. Do you have any advice on the best way to get the plants ready?
A: Let’s go through the plant categories one by one. Starting with outdoor perennials: most perennials don’t require frequent division, but for many of them, fall is an ideal time to do so. As they enter dormancy for the winter, they accumulate energy in their roots, rhizomes, or bulbs. The above-ground part of the plant needs very little water during the winter. Begin by watering the plants a few days before you dig them up. This softens the soil, making it easier to work with, and provides the plant with water that it won’t receive once the roots are disturbed.
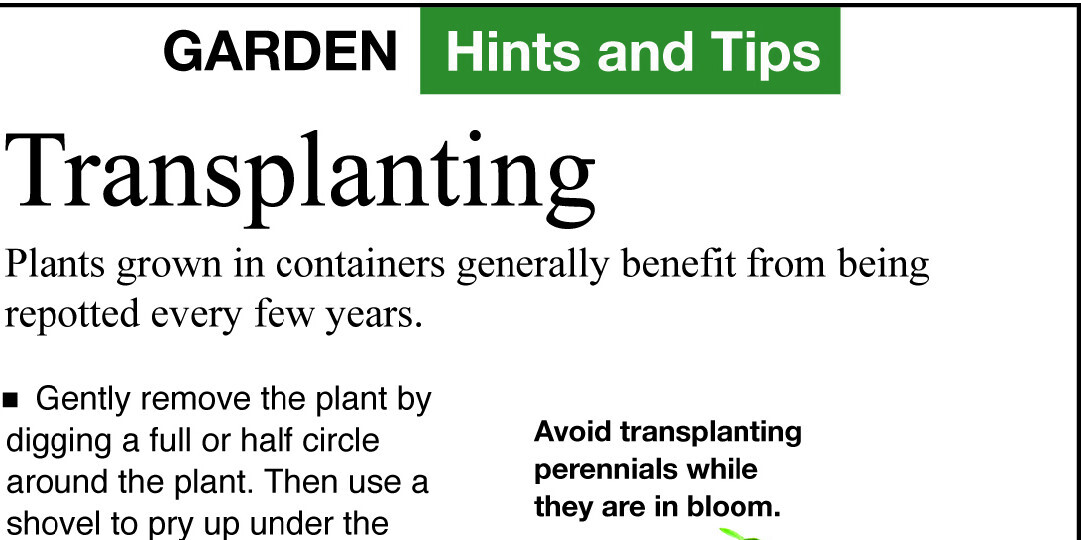
To avoid harming the plant, dig a little further out than you might initially think. Underground parts of the plant are typically located farther from the surface than the visible stems indicate. Create a full or half-circle trench around the plant, similar to a moat. Then use the shovel to lift the plant from beneath. At this stage, some plants may start to break apart. Separate the portions you wish to share and spread the remaining sections to cover the area. Make every effort to preserve as many roots as possible. Refill the hole with compost if the plant requires improved soil conditions. Plant the new specimens as soon as possible in containers or directly in the ground so that they can develop new roots before the cold season begins.
If the plant doesn’t easily come apart, it might need to be divided. Avoid simply hacking it with a shovel. Using a pruner, lopper, or saw to cut it into sections will result in less harm and a more robust plant.
If you don’t have additional flower containers, prepare in advance by using yogurt containers, milk bottles, or plastic bags. Place them in potting soil to keep the roots moist until they are sold or exchanged and can be planted in their new location.
We frequently wait until houseplants are extremely root-bound, with roots completely filling the container, before repotting them. Watering the plant a few hours ahead can make it simpler to remove, particularly when using clay pots.
Position one hand over the top of a pot that is 8 inches or smaller in diameter, with the plant stem passing between two fingers, and flip the plant upside down. If needed, tap the pot’s edge against a table. The root ball should then detach from the pot. For pots larger than 8 inches, if additional help is required, lay the pot on its side and strike the top edge with a rubber mallet. Rotate the plant slightly and repeat the process until the root ball comes free.
After the plant is removed, examine the root ball. If the soil is surrounded by roots, the plant should be transferred to a bigger container. Gently loosen the roots and spread them apart. You may cut any roots that wrap around the pot.
If the original pot is smaller than 10 inches in width, increase the size by one inch; if it’s 10 inches or more, expand the size by two inches. If the pot has holes at the bottom, cover them with a piece of fabric, paper, or a coffee filter to prevent the potting mix from being washed away when watering. If the new soil doesn’t contain fertilizer, you can add some slow-release fertilizer according to the instructions on the package.
Once the potted plant is removed from its container, a knife or pruning tool can be utilized to cut the root mass and stems, separating the plant into smaller parts.
Sedums and cacti that have cut stems when they are separated should be left for a day or two before being repotted or replanted, allowing the cut stems to form a protective layer. This scab helps stop disease-causing organisms from getting into the stem. Open cuts on the stem are highly vulnerable to rot.
When transplanting into a container or moving a plant to the outdoors, ensure it is positioned at the same depth as it was in its previous pot or garden location. Fill the container with potting soil, but leave space at the top for watering. The soil should be lightly compacted before placing the plant on top to prevent it from sinking. Once the plant is in place, fill the surrounding area with potting soil and press it firmly around the original root ball.
Water the plant completely following repotting, but take extra care to avoid excessive watering for approximately two weeks. The new soil might remain overly moist until the roots establish themselves. Giving too much water can cause the roots to rot.

Send your inquiries to Jeff Rugg via info@greenerview.com. For additional information about Jeff Rugg and to read articles from other Muara Digital TeamSyndicate contributors, including cartoonists, visit the Muara Digital TeamSyndicate website atwww.Muara Digital Team.
Follow the Muara Digital Team on MSN for more exclusive content
Related Headlines